September 3, 2018: The Fine Details
Next-gen nitpicking.
As a long-term owner (likely 10+ years), I'm attempting to keep my daily driver pristine as possible while being practical about it. It's not a garage queen and my schedule doesn't permit hovering over the paint with a Scangrip and magnifying glass every weekend. The idea is to minimize factory clear coat damage so a decade from now it'll still be in near-original condition. I have 2 advantages that makes maintenance easier - PPF and ceramic coating. Without these my process would involve more hyper-sensitivity and delicacy. PPF usually self-heals swirls in time, therefore I'm less obsessive/paranoid than the hardcore weekend warrior detailer.
My process for maintenance washes/details have evolved over the last decade, but given limited wash space at home, busy life schedule, etc. my routine differs a bit from commonly-accepted practices like the standard 2-bucket wash. My priorities and situational specifics may not apply to others and some of my methods have shortcuts compared to what sane professional detailers will recommend, but the tradeoffs provide sufficient results for me.
Since I have Opti-Coat Pro+ applied, I decided to stick with the Optimum Kool-Aid. I'm not endorsing Optimum over other brands ... it's just the system I use at the moment.
My current detailing arsenal:
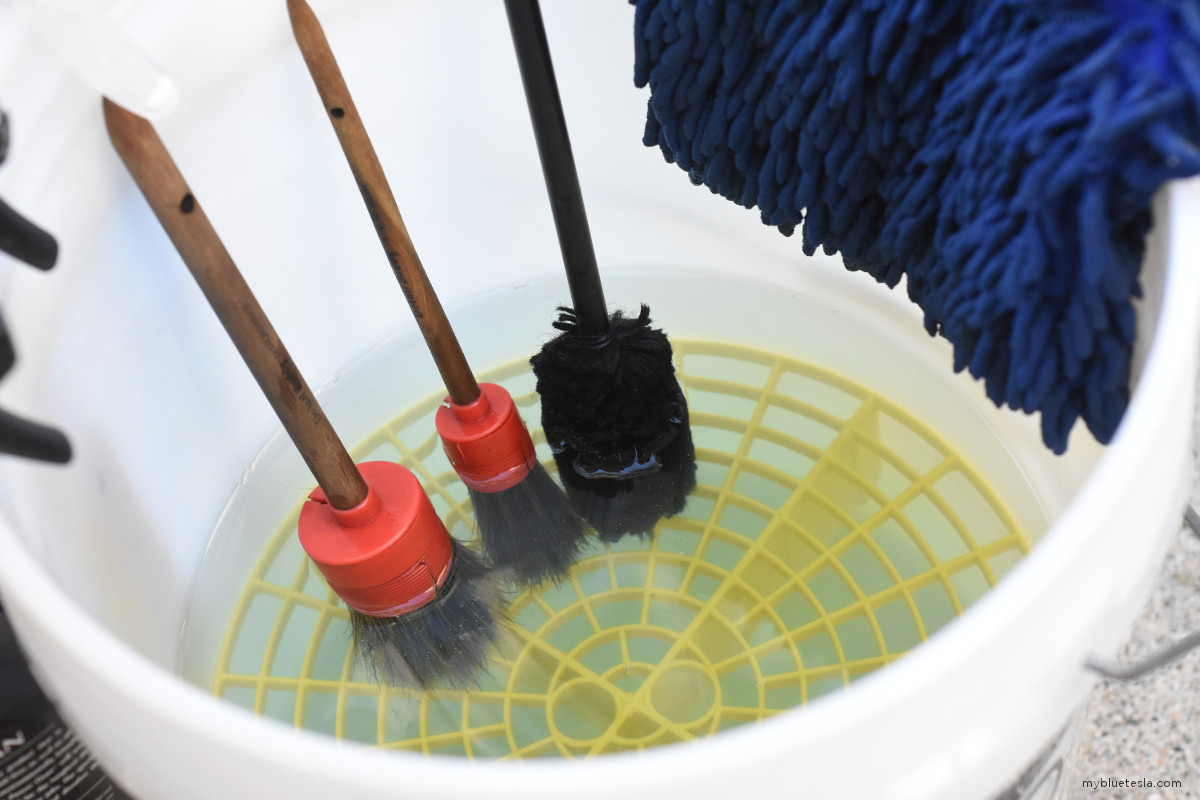
- - (2) 5-gallon buckets (similar to this) - one dedicated for wheel washing, the other for the rest of the car.
- - (2) Grit Guards, one per bucket.
- - (1) Wheel woolie brushes (the medium and small sizes work best).
- - (1) Boar's hair brushes.
- - (1) Microfiber wash mitt, similar to this (for body paint and windows only).
- - (1) Scotch-Brite multi-purpose scrub sponge (the blue, non-scratch one) - only for the windshield to easily get rid of bug splats - never for use on paint. Ever.
- - (1) Optimum No Rinse (ONR) - with the 32 oz. version, one capful per gallon of water is all that's needed per bucket.
- - (1) Optimum Power Clean - this all-purpose cleaner (APC) is useful on floor mats and bloomed tires.
- - (1) Optimum FerreX for the wheels - Iron X or Sonax Full Effect does the job as well and they're more well-known.
- - (1) Optimum Opti-Seal as a drying aid (optional for this purpose, but works surprisingly well). I use this as a sealant if I don't have Hyper Seal.
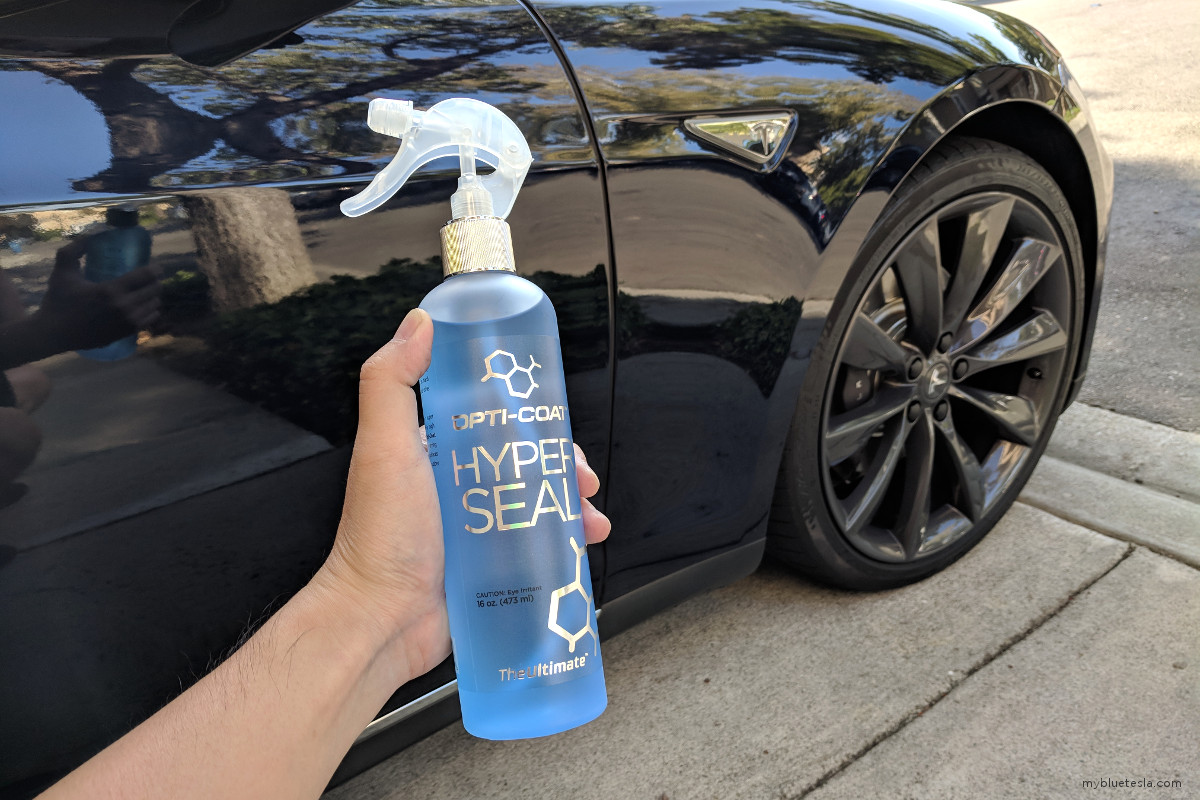
- - (1) Optimum Opti-Coat Hyper Seal as a final topper. Relatively expensive, and regular Opti-Seal will work fine as well.
- - (lots) of microfiber towels - I get mine from The Rag Company; some Eagle Edgeless 245, Eagle Edgeless 365, and glass towels for streak-free windows.
- - Good lighting. Overhead garage lights only provides so much - I use this Streamlight to inspect my work.
My current wash routine, preferably every 3 - 4 weeks before any stuck-on grime becomes increasingly difficult to remove:
Step 1: Pressure wash (if necessary)
Blast caked-on grime/dirt, bug impacts, bird droppings, mud splats on the lower areas, etc. off while avoiding spraying upwards into the rear hatch section (where the reverse camera sits) since I've found that the water seal isn't very good here and results in water seepage into the interior hatch panel (leaks through the grab handles). I've been using public wash bays with just the rinse/blow-dry cycles. Definitely leave those brushes there alone.
Regarding PPF, some caution is advised when spraying panel edges or other areas where the film folds around edges as it could inadvertently cause loosening over time. A lot of cost went into installing the film and you wouldn't want to undo it by washing with excessive force.
A couple of years back I was using a Yard Force YF4050PB pressure washer which is a portable, battery-powered unit. I'd fill it up with distilled water and it generally worked fine although the pressure's not very strong (which is actually preferred). For some areas of the car I still prefer stopping by a wash bay where I can rinse with better pressure.
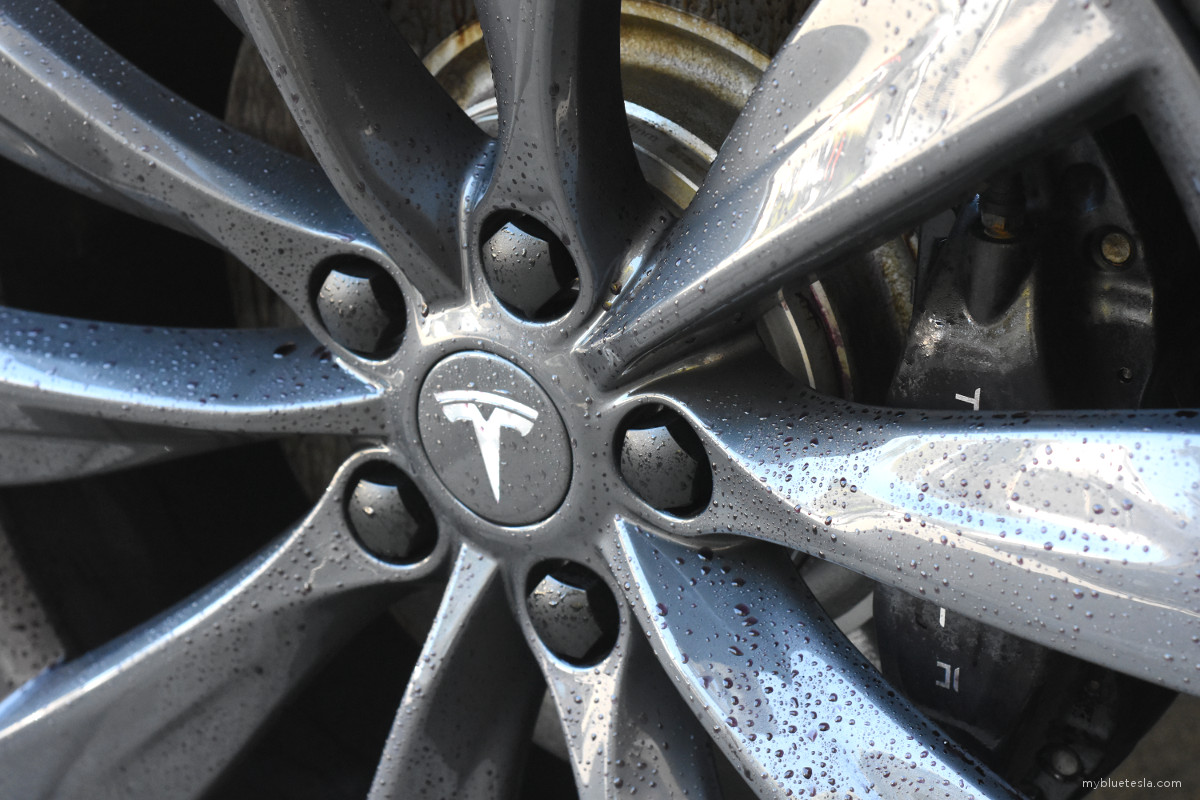
Step 2: Wheels/tires
Spritz FerreX (or the more common equivalent like Iron-X) on a wheel, let sit for a couple of minutes, watch the iron deposits dissolve into purple droplets and streaks, then rinse off. I might repeat this twice per wheel. Then use an ONR-soaked wheel woolie brush (the smaller one is the most convenient to navigate with) on the inner wheel barrels. Clean the wheel face with an ONR-soaked boar's hair brush. If I'm in the mood I could go the extra mile and jack up the car and remove each wheel for easier access to the inner sides of the spokes, but that's reserved for a more thorough annual detail.
The EZ Detail Brush is useful as well, although it splatters a bit when pulling out from the wheel which gets annoying. I almost never use it now except for engine bay detailing on my other car.
Spray APC on the tires, let sit for a couple of minutes, agitate with an ONR-soaked boar's hair brush and rinse. Use a leaf blower to dry (I sometimes use my Metro Vacuum SK-1 Air Force Blaster Sidekick) to force water out of tight areas like the lug nut openings.
Extra credit: clean the wheel wells - jack up the car, dismount the wheels, degrease the wells with APC or other multi-purpose car washing degreaser, brush-agitate, rinse, then re-mount the wheels. I normally just pressure wash the carpet material to remove stuck-on debris. It's going to get dirty quick afterwards anyway when you start driving and bits of leaves get stuck in there, but the key is to prevent layered accumulation. It's a pretty rare occasion when I work on the wells though.
Step 3: Vehicle body
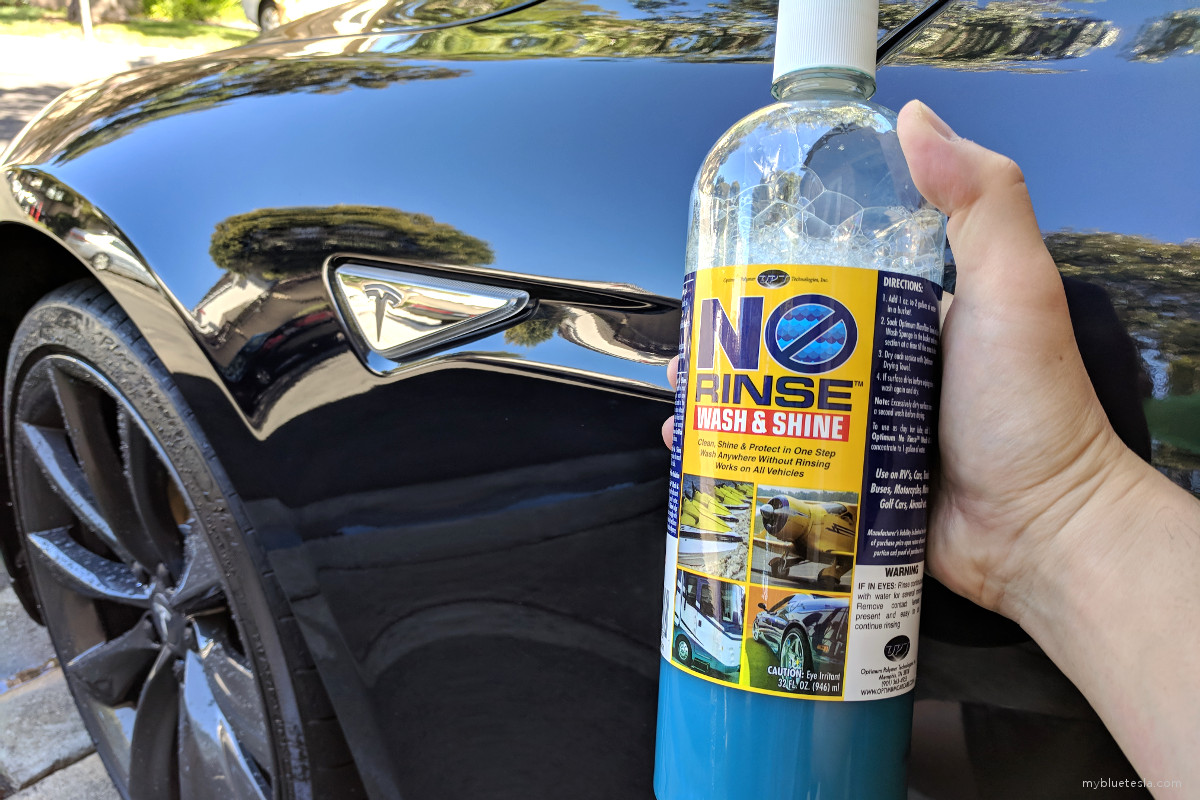
Add 2 gallons of water into a 5-gallon bucket (Grit Guard inserted), then add ONR (standard dilution ratio of one capful per gallon). I used to buy distilled water or use something like CR Spotless but this has become cumbersome for me to juggle around. Soak the wash mitt in the bucket then ring it out so it's just barely dripping. When I'm feeling extra-paranoid, I pre-spray some ONR onto the panel I'm working on. With general washing, the point is to not heavily-scrub the paint but let the weight of the mitt do the work. The harder you press onto the panels, the higher the chance of dragging existing micro-grit across the surface and causing those micro-scratches/swirls. Less pressure is more. Even with PPF installed I still try to minimize the amount of swirling I'll create.
There are cleaning tactic variations with a no-rinse solution like ONR. Some people use mitts, others prefer using microfiber towels instead and dedicating a towel for each panel. It's a source of great debate on the Internet. I just pass the mitt over a panel (except the rocker panels and rear diffuser), dunk the mitt back into the wash bucket, and scrub it against the grit guard to release dirt before moving onto the next panel. I've used a second bucket dedicated for rinsing the mitt in the past but this has tested my patience without making too much of a difference for me.
I generally wash one panel at a time, then drying with Opti-Seal before moving onto another. Otherwise ONR dries up and I have to pass the mitt over again so it's easier to dry off the residue. The overall wash stage begins at the roof, then the windows, hood, doors, fenders, rear, then front bumper in that order.
For the windows, I take a pass with a mitt, then use the harsher side of a Scotch-Brite pad to quickly scrub off leftover bug splats, bird droppings, etc.. Be very, very careful near painted surfaces such as the A-pillar, roof rails, or any of the chrome brightwork as there's high scratch potential here.
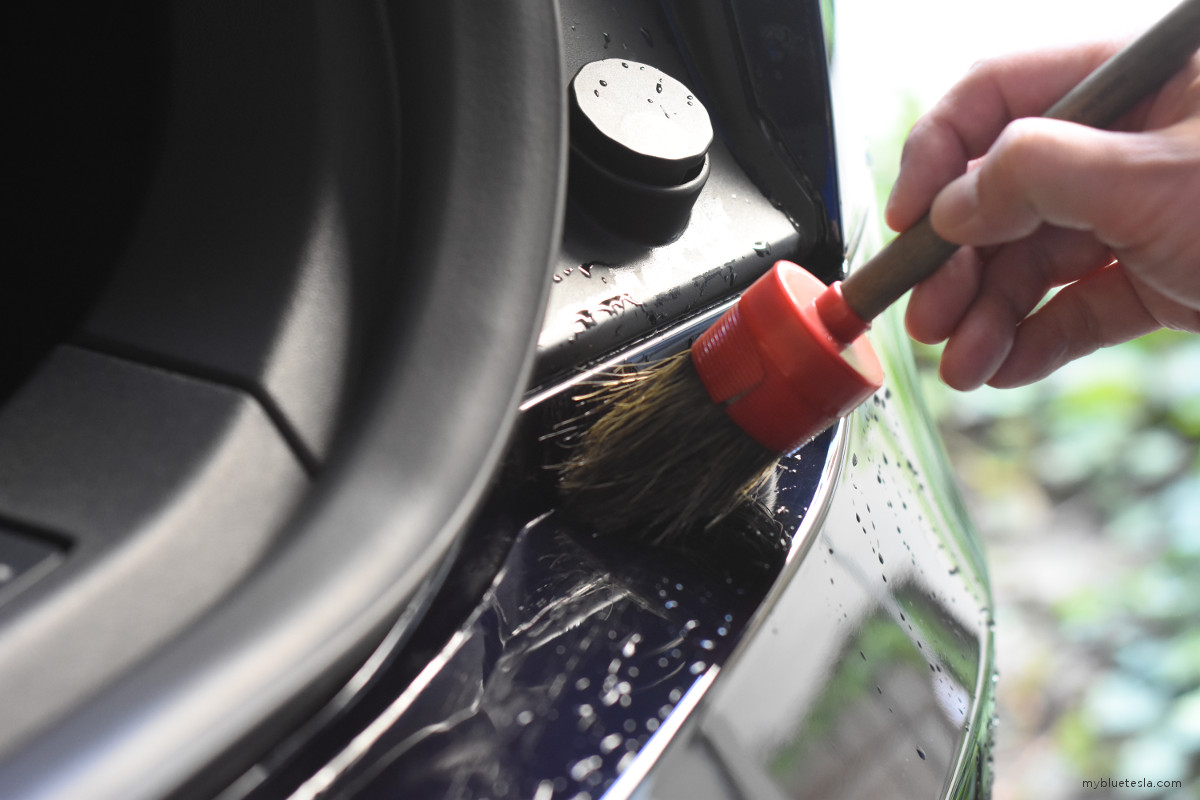
For the thin gaps between panels as well as hidden areas like the rear trunk sill, I pre-soak with a few shots of ONR via spray bottle and swipe with a boar's hair brush to remove dirt. The brush is especially useful on the door jam mechanisms as well as the crevices in the front nose cone and chrome fins in front of the louvers.
During a more thorough annual detail, after washing I would decontaminate with a clay bar. These days I have a professional take care of this during a maintenance detail. Same thing with decontaminating iron deposits and other industrial fallout with FerreX or Iron-X.
Don't be a lazy detailer and neglect the lower areas of the car. Other people are watching you. You'll end up on YouTube and chastised (and rightfully so). My Model S is of the older vintage with the non-painted rocker panels and diffuser. Since this area naturally collects lots of road grime, I hit this with separate wash media than the one I use for painted body surfaces. The softer side of a Scotch-Brite sponge soaked with ONR works for me. Jacking up the car helps accessibility.
Step 4: Dry
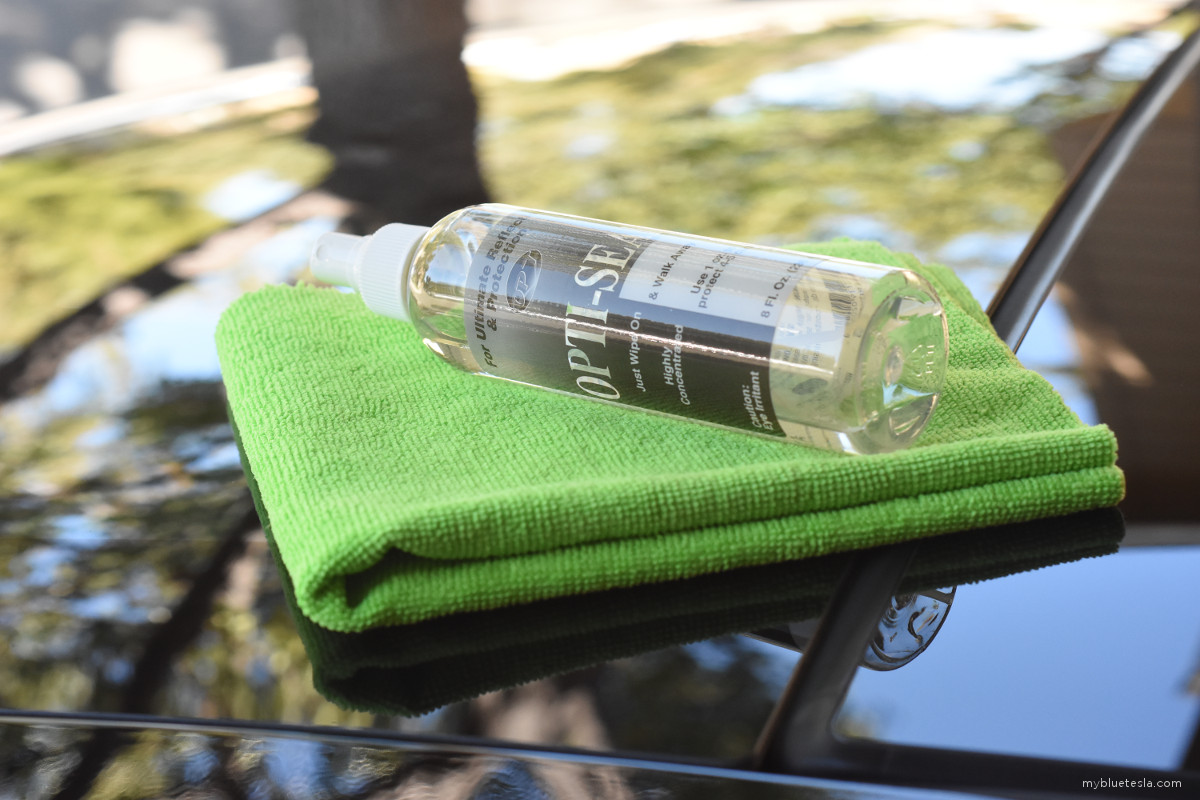
While the ONR is still wet on a panel, spray 2 shots of Opti-Seal to use as a drying aid and then wipe off with a microfiber towel. It's quite amazing how well this works in reducing the drying effort. A towel meant for drying (rather than the one pictured above) will make life easier. Keep the pressure light - don't press too hard in attempt to buff the sealant into the paint. If there's a piece of micro-grit that wasn't removed during washing, the towel might pick it up and it'll end up getting pressed into the surface if you apply too much downward force and end up in swirl-scratch city.
Step 5: Seal
Opti-Seal served as a nice drying aid on the previous step but it got diluted with the leftover ONR on the surface. The final step on the body panels is to use Opti-Seal again as a top finishing layer by itself with a fresh towel. I'm currently experimenting with Optimum Opti-Coat Hyper Seal to see if the results are any better than Opti-Seal. It's slightly thicker in consistency (perhaps similar to WD-40) so I'm hoping the protection will last longer. At $30 per 16 oz. bottle, it better decrease my drag coefficiency and not just this "more gloss and slickness" song-and-dance that Optimum is marketing. Time will tell if it's just a re-labeled, marked-up version of Opti-Seal with an upscale-looking bottle and if suckers like me are getting taken to the bank.
Tip: Water spots
Sometimes you can't avoid passing by lawn sprinklers that's casting waves at high angles upwards towards the sky. Hard water contains minerals that if not removed immediately will eventually bake/etch into the surface as the sun shines on it. Similar to bird droppings, don't leave these unattended ... but life happens and sometimes you don't notice it or aren't in a position to attend to it quickly.
In cases where washing doesn't remove them I first try distilled white vinegar with a microfiber towel (on a washed car, prior to applying sealant). If that doesn't work then I give the clay bar a shot. There are other solutions like Optimum MDR that specifically addresses water spots. When those fail, I may entertain the idea of using my random orbital polisher or rotary with a finishing pad. Going with such an abrasive solution usually means removing existing sealants or coatings though. Since I have PPF, I usually let my detailer handle this.
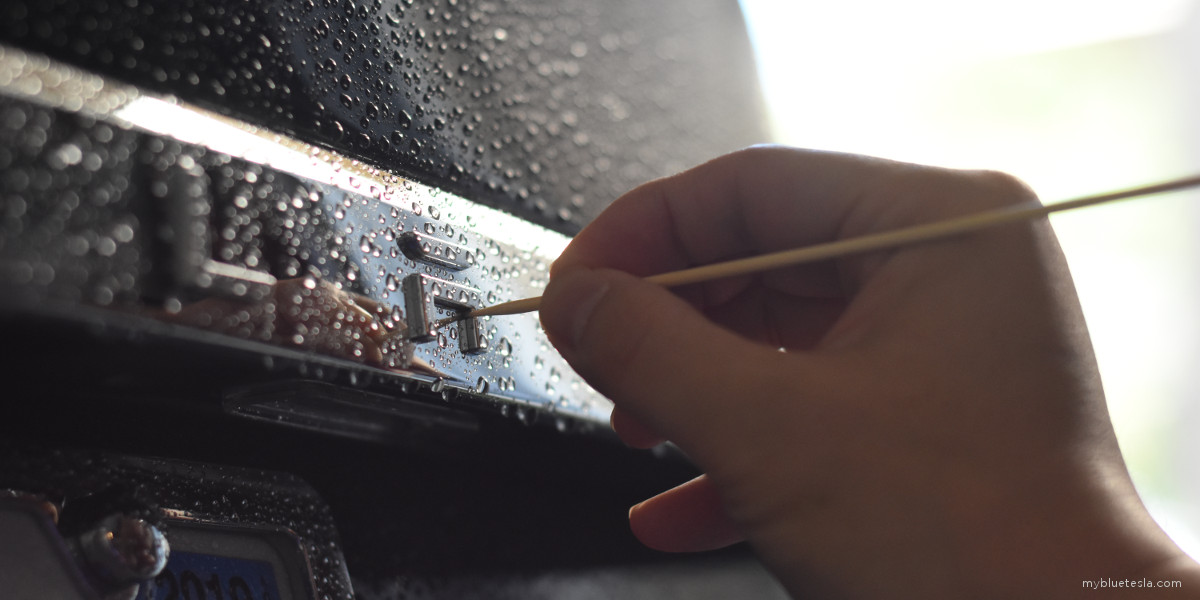
Tip: Built-up crust around the Tesla lettering (rear appliqué)
Crusty grime that inevitably accumulates around the chrome lettering on the rear hatch appliqué can be alleviated with some ONR-soaked Q-tips. Any remaining grime can be scrubbed off with the pointy end of a wooden toothpick. Spray some ONR on the lettering and go to town.
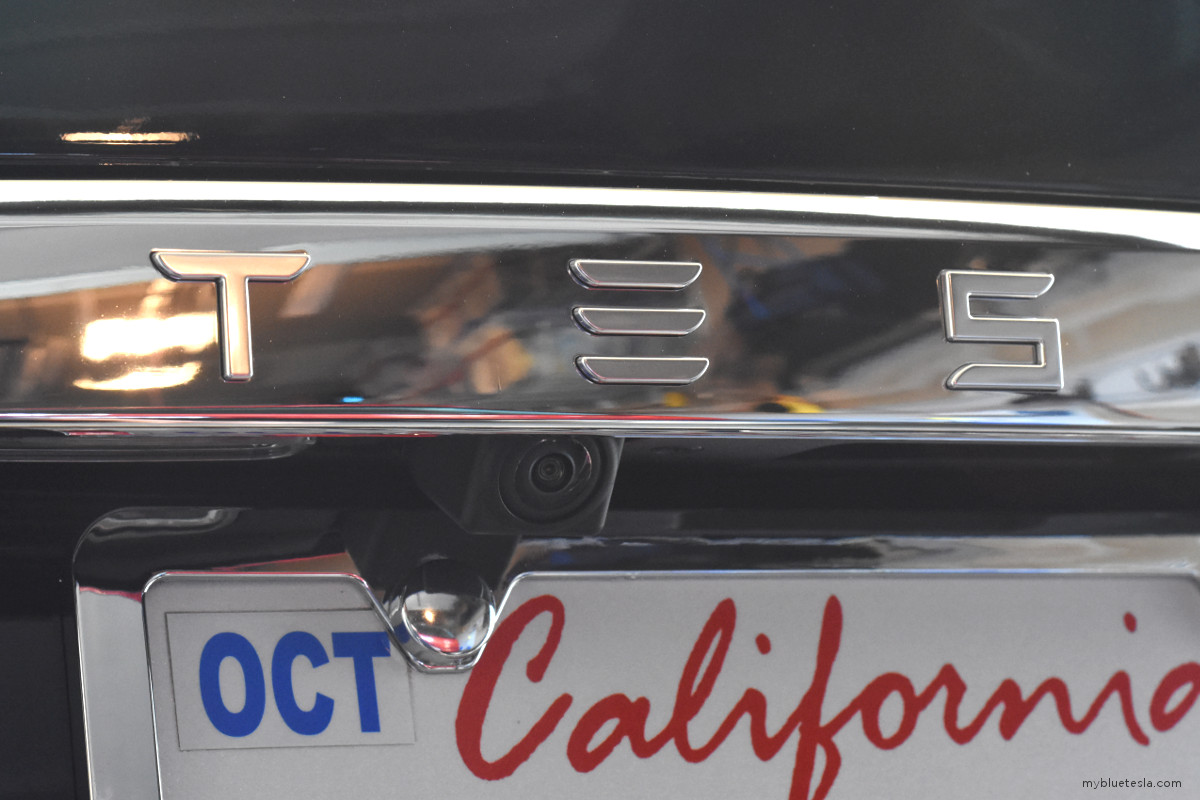
For areas around the badging like the Tesla logo on the rear hatch, I use Q-tips since toothpicks might scratch the paint. In the case of my Model S I had the rest of the factory badges removed right after delivery so my work ends there for that, but for everyone else I recommend using Q-tips around the badge edges. To do a more thorough cleaning of the surface area underneath the badging you'll have to remove them (heat gun + dental floss), clean the surface, and then reinstall (likely with a new badge set).
Other tips:
Ensure you clean the door handles while they're extended and you're pulling on them slightly. Don't forget the side mirrors in both folded and unfolded positions where the chrome surfaces are exposed differently in both positions.
Step 6: Interior
Vacuum. Pay attention to those crevices in the seats. Don't forget the front/rear trunks and the parcel shelf.
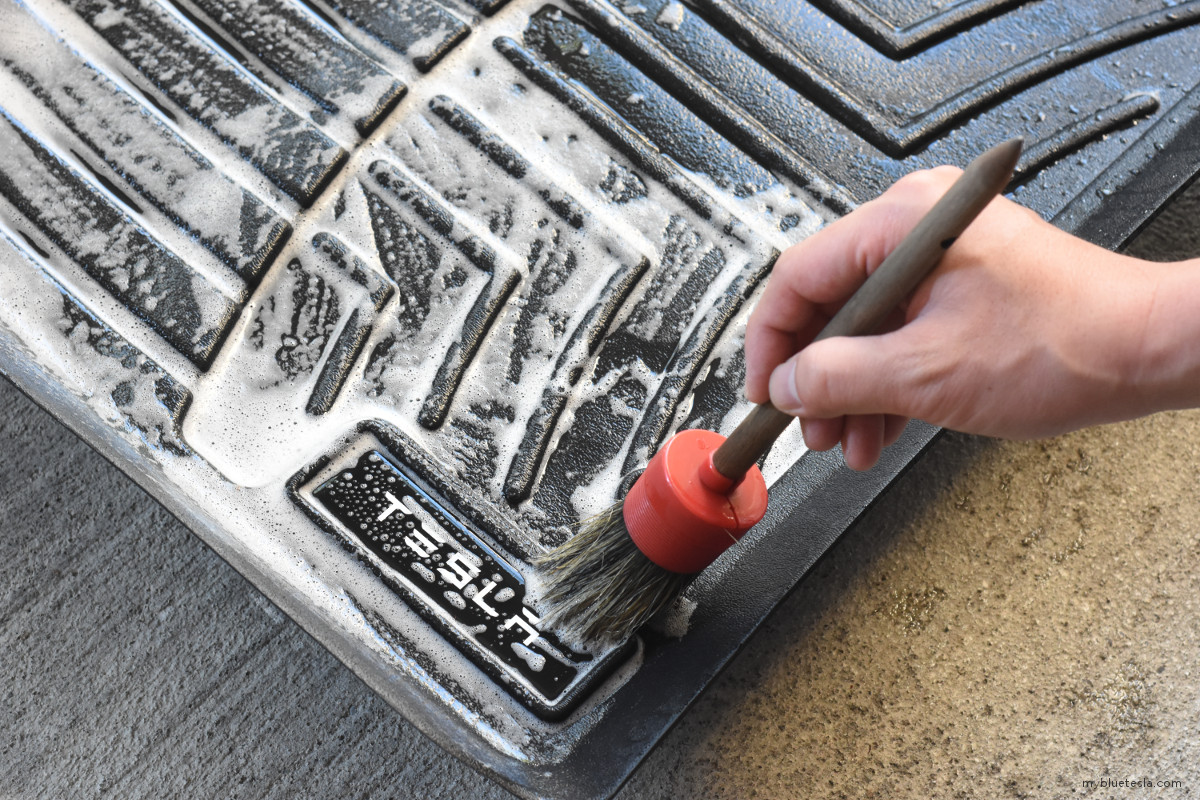
Pull out the rubber mats, rinse them down, spray with APC, agitate with a brush until relatively clean, then rinse and blow-dry. Re-install at the end of the interior cleaning process.
Spray/wipe-down the leather surfaces with distilled water. If necessary, further clean the leather seats and other surface areas with ONR, paying particular attention to human contact points like the steering wheel, armrests, headrests, door releases, door grab handles, steering column stalks, etc.. I'm not sure what I'd use if I had the textile seats (which I now somewhat wish I had instead of leather). I sometimes break out the steam cleaner on the seats (I use a Dupray Hill Injection).
The door sills can be done with the mitt, but the hinges and related components are a bit tougher to reach. Open the doors as far as they can go and brush with ONR. Dry with a microfiber towel. If you skip this area, you'll never achieve that almost-new-car nirvana and the Internet will never forgive you. Don't cheap out. Your subconscious will always bug you about it as you open the door and step inside.
Low-pile microfiber towels for glass are very useful to remove streaks on windows. Spray ONR or rubbing alcohol on the windows and wipe off. Super-clean windows are the key to that I-just-took-delivery feeling. Don't forget the instrument cluster and center screen.
If the headliner needs it, I spray ONR on a medium-pile towel and very gently massage the area. Many owners have Alcantara as headliner material so I can't comment there, but I use cleaners on the textile headliner very sparingly so the adhesive doesn't deteriorate. It generally doesn't get dirty anyway so this isn't an area I often address.
With a clean microfiber towel, remove leftover dust on the dash, consoles, around the steering column, etc.. As a final step, open the doors and use a compressed-air can to spray out the dust towards the outside. While the dust-free look won't stay that way for long, it'll at least feel like driving a new car again for the next couple of hours. Very noticeable with polarized sunglasses.
Extra credit: accelerator/brake pedals
It's easy to miss this one, but once in a while I'll hit the pedals with some APC and follow-up with an ONR-soaked brush. Accumulated shoe grime on the pedals is undoubtedly a lurking health hazard or may introduce odors into the cabin. Who knows what you've stepped on and then rubbed onto those all-electric, Earth-saving, green-energy, zero-emissions, Space-X-quality pedals.
My interior almost never gets dirty enough to warrant anything beyond this.
All done ... for now
I don't perform this entire process every time I declare the car dirty and usually break this up over several weekends. The whole effort takes mental tenacity but I get the results I'm looking for. After nearly 4 years of ownership, my Model S looks close to the day I took delivery. For me, that's part of the pride of ownership. It's a never-ending cycle that I invest time into and enjoy, usually only after the work is finished. It's also how I psychologically convince myself that I never need to buy another car because mine doesn't age with all the exfoliation that goes on.
Here's an example of a real professional at work: