July 10, 2019: Door Handle Fix
A bad wire = a permanently locked door. Thanks, Elon.
I've had at least one door handle fail over the years (covered under warranty) until 2 months ago when the front passenger side stopped working in the middle of a road trip. Thankfully I wasn't carrying passengers then. The handle auto-presents but tugging it doesn't unlatch the door. This is typically indicative of a wiring harness issue.
My options were to have Tesla Service come by (and pay the hefty fee since I'm way past the warranty) or learn to do this myself. I decided the latter is better for an owner and a $70 EV Tuning Model S door handle microswitch upgraded harness replacement should solve this nicely. Assuming I could get the door handle out. All Tesla owners should pay their dues and attempt this themselves while admiring their car's body panel gaps from afar.
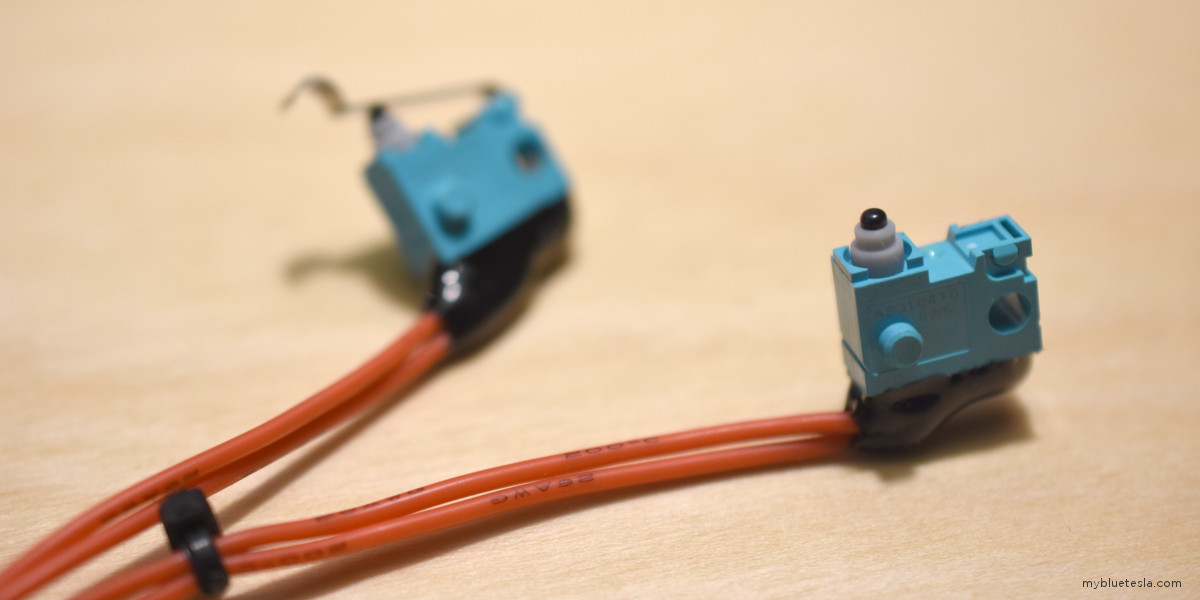
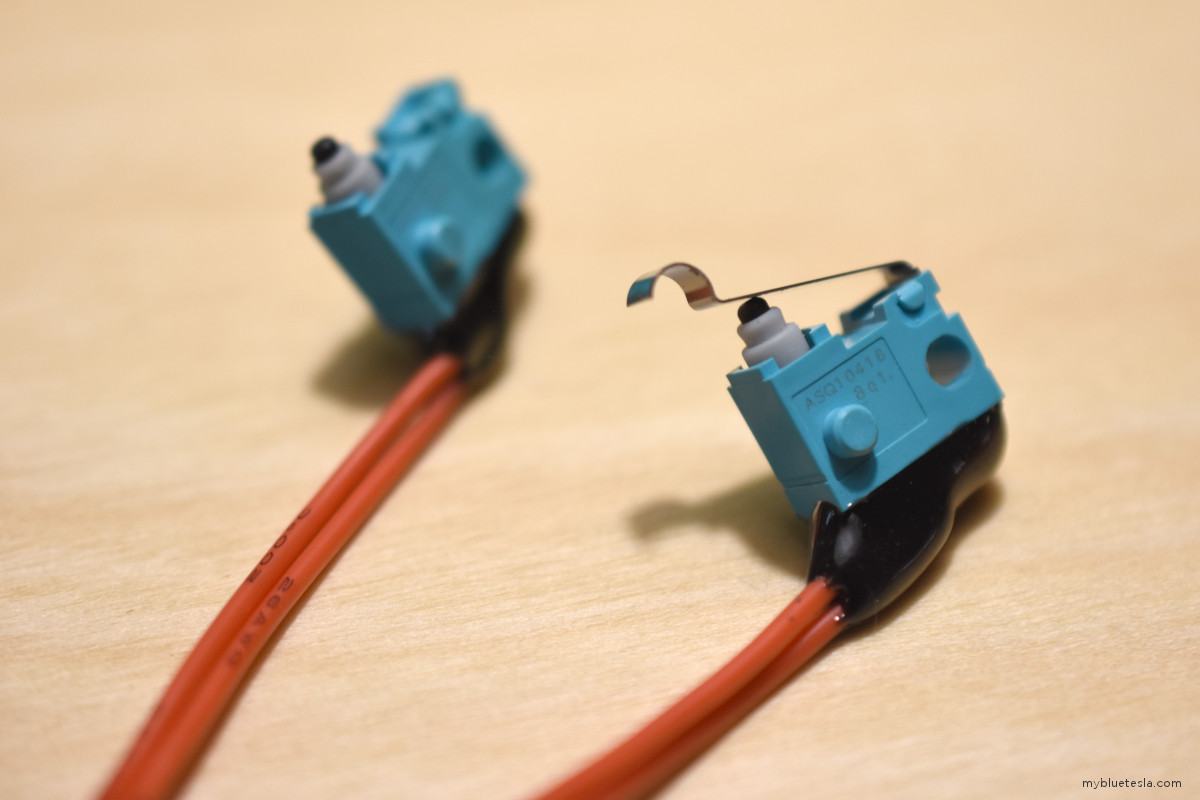
Below is EV Tuning's harness with the black resin applied where the wires attach to the microswitches. This should prevent water intrusions unlike the Tesla factory switches.
The white clips which hold the door cards in place seem to be prone to breakage during removals so I bought 5 more of these at $1.15 each just in case.
The Rich Rebuilds channel goes through this repair process step-by-step.
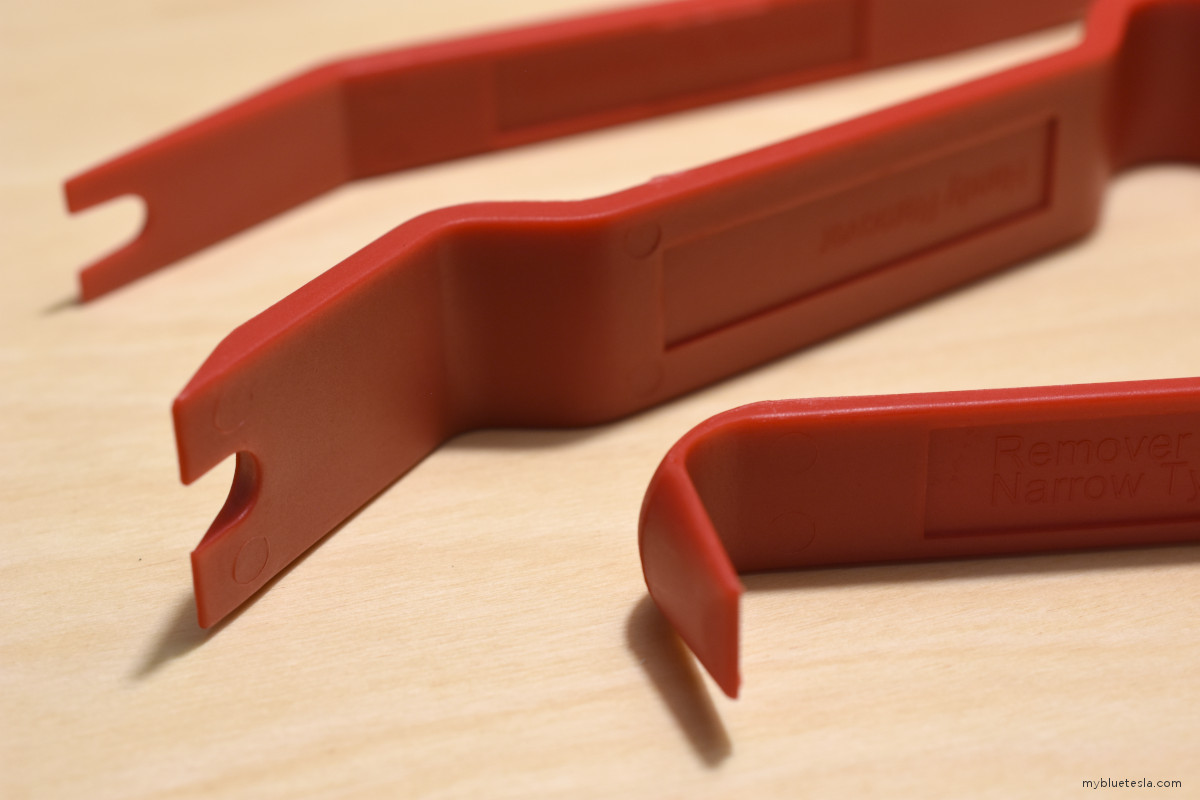
To remove various panel pieces without scratching adjacent surfaces (namely painted ones), a while back I picked up a set of trim removal tools for the day when I'd have to start taking the car apart. Well, that day has arrived.
To perform the repair process on my 2014 S85, a T30, T25, and T9 Torx screw bits, a 10mm socket, and a 10mm wrench were needed. It's also helpful to have a lengthy extension for the ratchet and socket (at least 10"). Older cars apparently use slightly different sizes.
The rubber flap which covers the door assembly housing was partially loose, likely introducing some wind noise into the cabin:
The way the flap is held in place seems pretty flimsy.
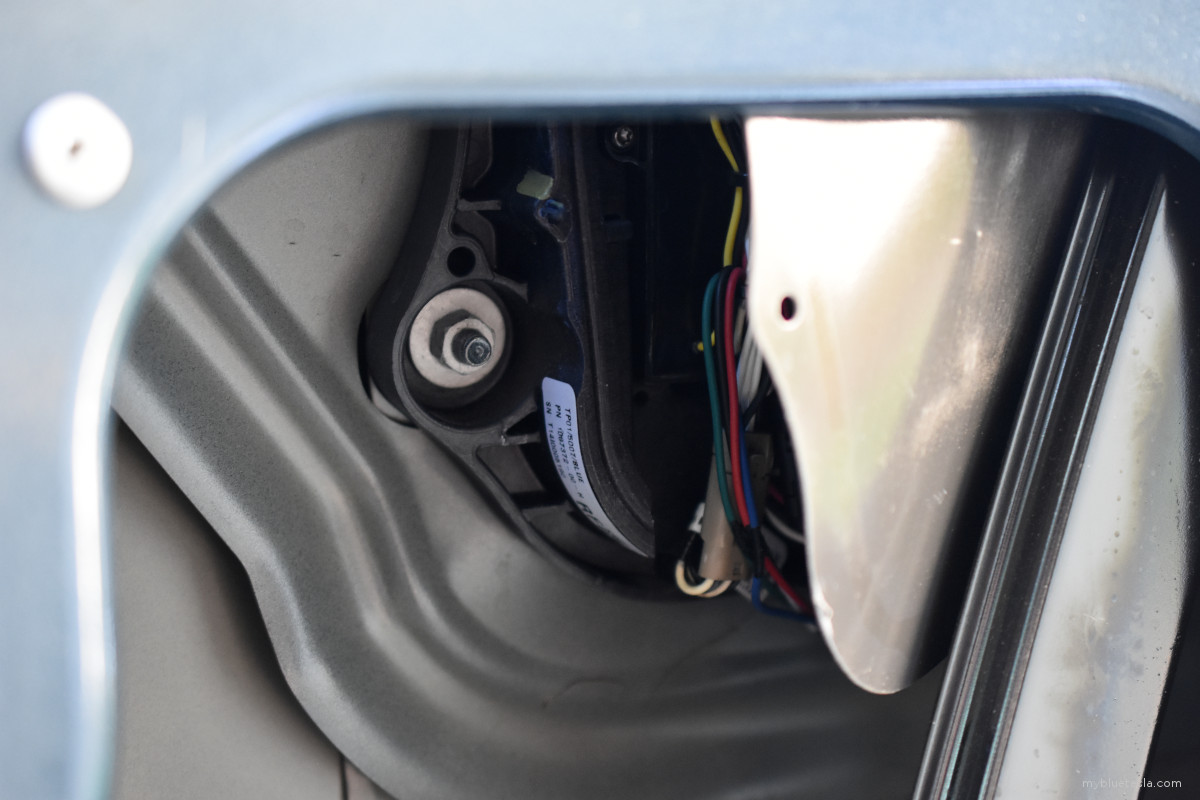
The door handle housing assembly is held onto the door by 4 bolts, a couple of which requires carefully guiding the socket into a small opening with an extension bar to reach. Shining a flashlight from the side greatly helps. Here's the last screw near the top of the door panel that needs to be removed in order to take out the door handle assembly:
Behold the most amazingly simple and elegant door handle system for the ultimate in reliability and robustness. Save the Earth. Go Green.
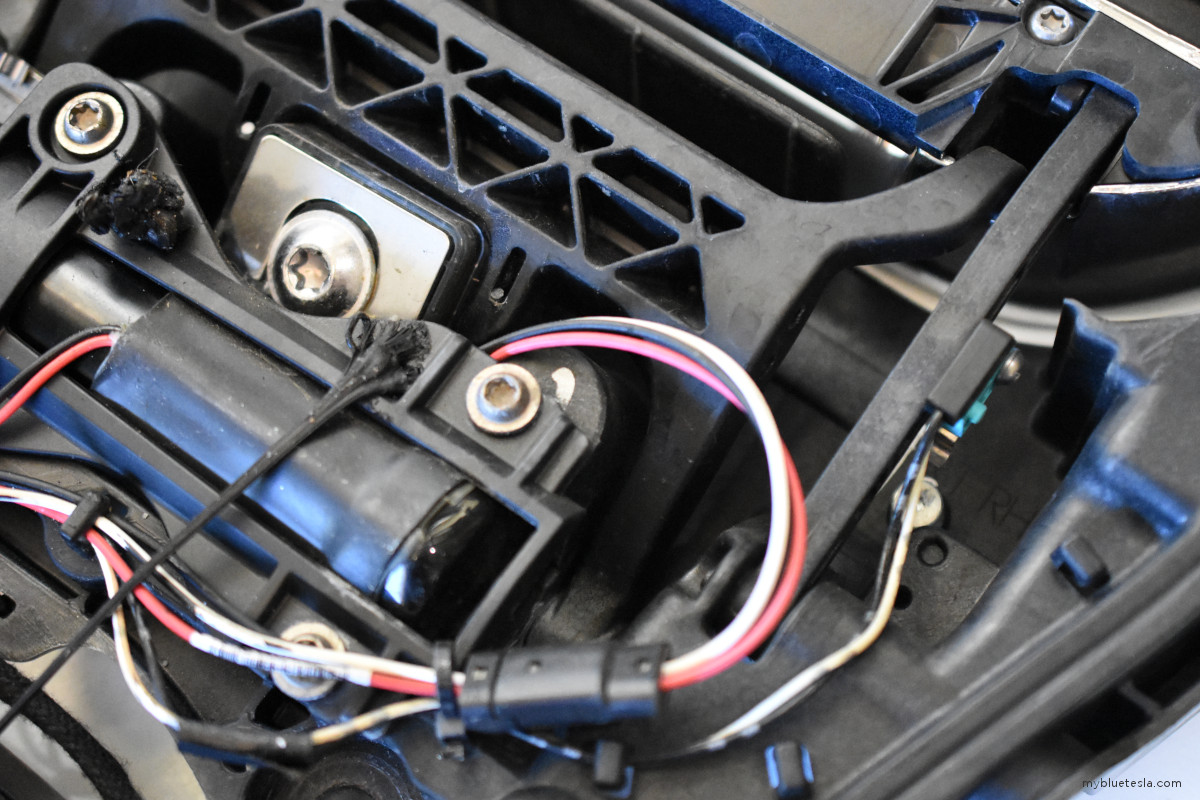
The black gummy/stretchy thing above is the tacky adhesive which attaches the rubber flap to the overall assembly.
Based on the part number 1007372-00-H-L RF, this is a Gen 2 door handle (as referenced on EV Tuning's site).
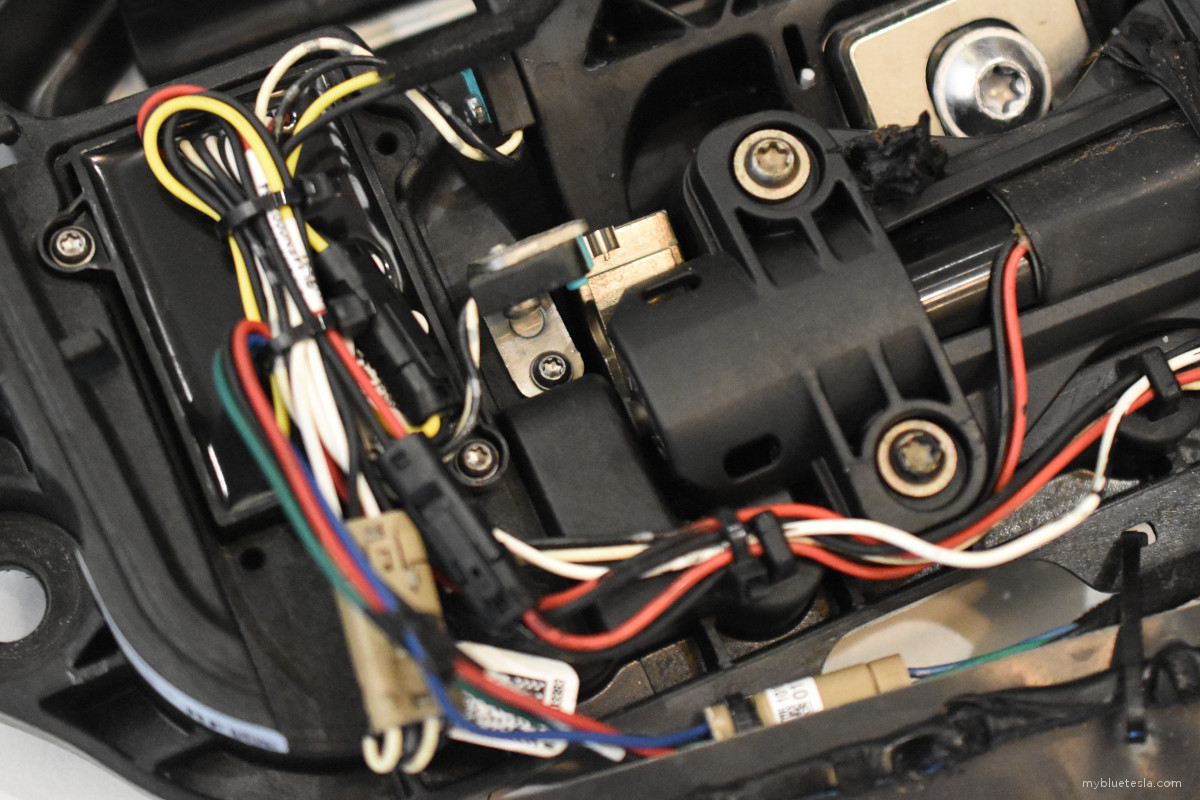
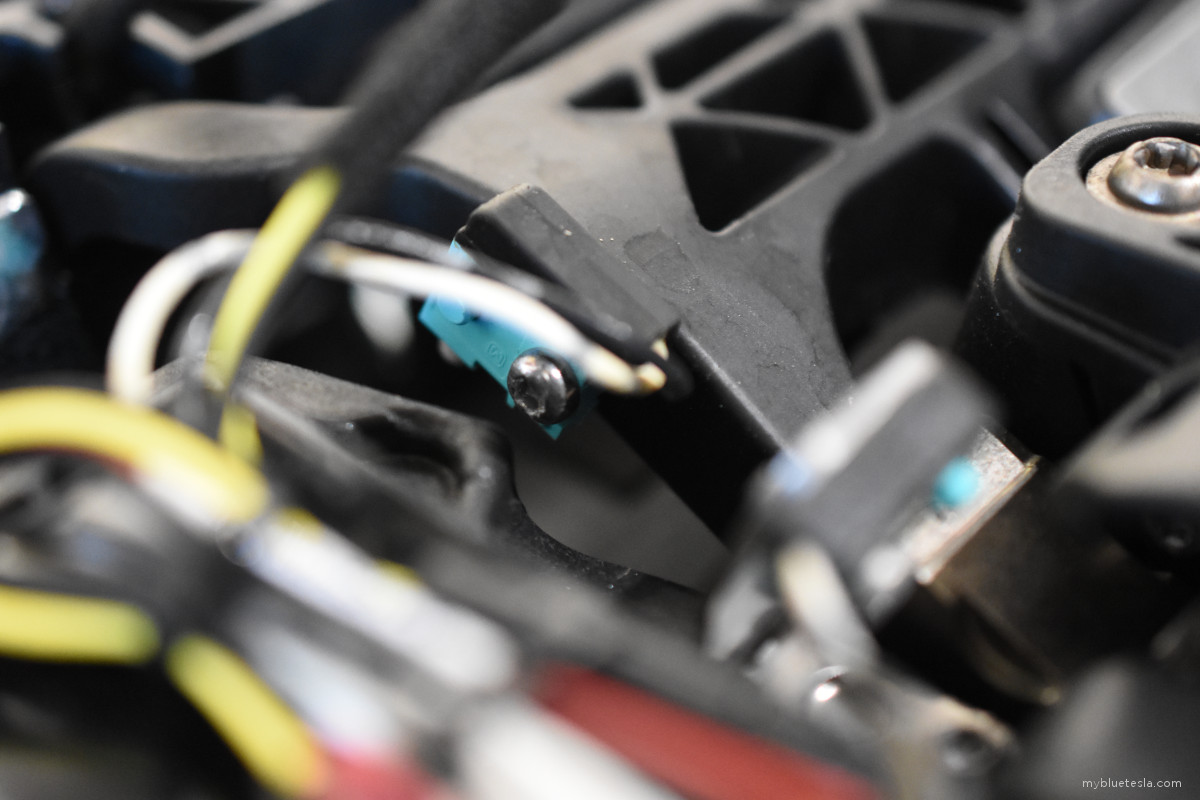
The most difficult tasks were finessing the door handle housing out of the door panel and then carefully removing the old/installing the new microswitches. There is no clearance to get a Torx bit straight-on. For me it was a practical necessity to drill holes into the front (outside-facing) part of the plastic door handle housing to get access to the microswitch screws. Even though Rich Rebuilds mentions this is an optional step, for me it seemed the only means to get near straight-line access and given the ribs on the housing, it's difficult to drill into a section to allow perfect, non-angled access. You also need a screw bit and/or a driver handle thin enough to reach in and get the job done since there's not a lot of leeway. Below are the original switches still in place:
It wasn't until I happened across an old YouTube bookmark that I realized there was an easier way to get access to the screws. Oh well, live and learn.
Another difficulty was that I could not push the door handle into the retracted (sunk in) position before removing the housing from the door panel. I had to close the entire door and temporarily lock the car, get the handles to retract themselves in, then disconnect the harness from the door handle housing. It didn't push in easily like in the Rich Rebuild video. Either I wasn't trying hard enough or my particular model revision is different.
One big caveat - the arms which the microswitches screw into are essentially plastic and it's easy to mess up the existing threading since you're practically forced to turn the screws at an angle. I ended up misaligning the two holes in the arm for the switch on the forward-facing side of the car (the one without the extra metal spring clip) and had to re-do the work. In the process, the actual screw hole in the arm ended up a bit overchurned requiring an attempted fix with Loctite Threadlocker (red). Even if this works, I suspect in time it may wear out and my ultimate fix would require having to buy a completely new door handle assembly just for this minutia. Either this is really poor design or I'm just incompetent (admittedly a possible truth).
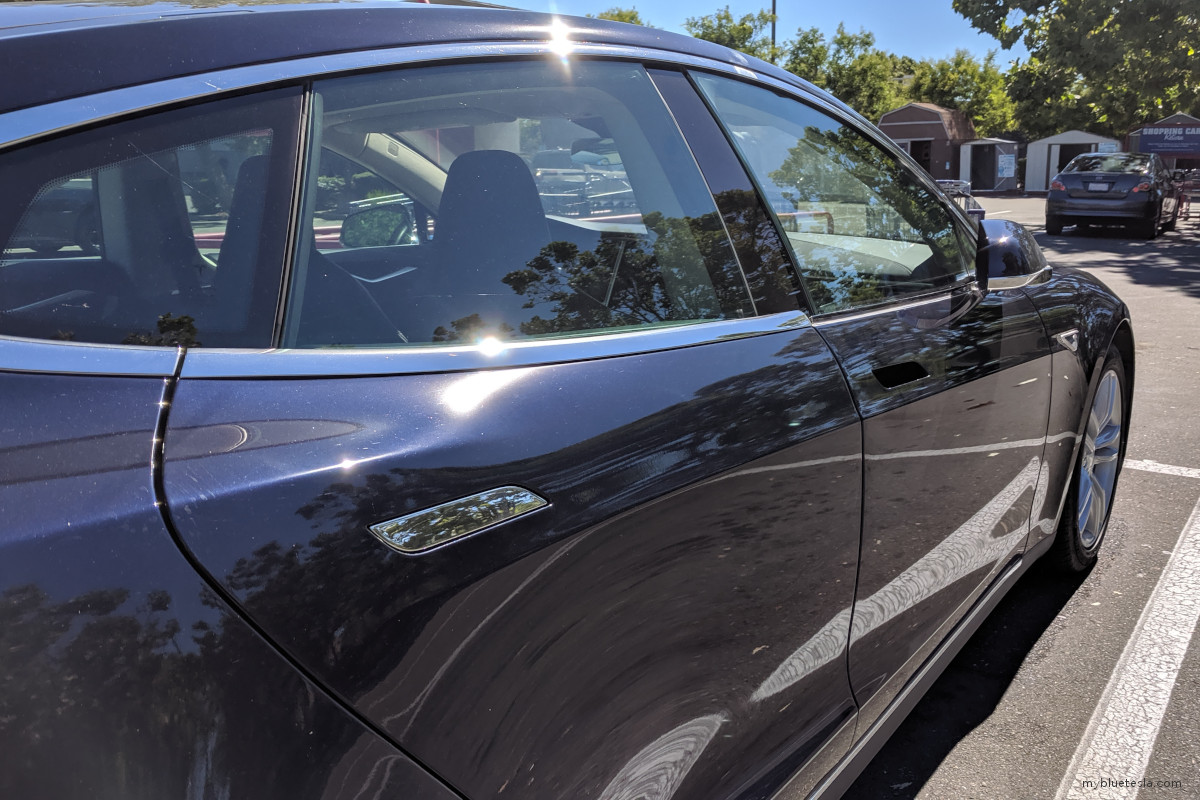
It took a few hours to get through the overall frustration as I was attempting to do this rather carefully. This doesn't include an hour when I ran to the hardware store to get some extra tools in the middle of the repair. It's not everyday that you see a Model S in a parking lot with an open gap where the usual chrome shiny bit goes.
The repair process was tedious and occasionally frustrating, although most of this was due to it being my first attempt at it. Some tasks were particularly finicky such as removing or inserting the handle assembly back into the door panel as there seems to be just one narrow path in the confined space to maneuver it into place for bolting, requiring a strong connection with The Force given the lack of visibility.
However, the final result was a big fail. The first issue was when I plugged the main assembly harness back to the door (for testing before I installed the assembly housing back into the door itself), the handle would auto-present all the way forward to the point there is no additional room left to allow me to tug/unlatch the door. There's supposed to be a quarter-inch margin left to move the handle just a bit further out. I could feel a slight power pulse running through the assembly as if an invisible hand were constantly pulling the handle.
And after a while as I was connecting/disconnecting the door harness, the handle just stopped presenting entirely as if power was not making it to the assembly. I'm not sure if I broke the main harness (given my repeated attempts at testing) or some other gremlin was in the cards, but I simply ran out of time and patience as I have other life priorities to attend to. I reassembled the door and will have Mobile Service make a house call. I foresee a $1000 service bill in the near future. I remember Elon saying something about "low cost of maintenance" some years back. Yeah, right.
My understanding is that Tesla Service will typically remove the window for these operations. I didn't, and I also didn't reinstall the top bolt which holds the handle assembly in place since it's just tedious to get that final one in there with little clearance to work with next to the window. Also, Tesla Service no longer have exact replacements for the Gen 2 model and will need to perform an upgrade to the Gen 3 and perform a calibration routine. But at least this means I'd have a newer (and theoretically less failure prone) assembly.
Many others have said it before but I'll also add my vote on it: Model S door handles are excessively complex and difficult to self-service. I have to wonder how much aerodynamic drag benefit there is with flush handles, and aside from the wow factor it's natural to question just how much this failure point has affected Tesla's reputation as an automaker. I think all the existing comments on the Internet about such engineering design choices are warranted. Auto-presenting handles are cool, but they weren't a huge selling point on the car for me either. I'd be fine without them.
Maybe some third-party will make a conversion kit in the future to make them similar to Model 3's. While the auto-presenting feature seems magical at first, once you have to deal with the unexpected failure they feel like a gimmick. This is not how you promote the reliability factor of EVs. A complicated door handle contraption completely offsets the "less moving parts" cliché being tossed around in marketing.
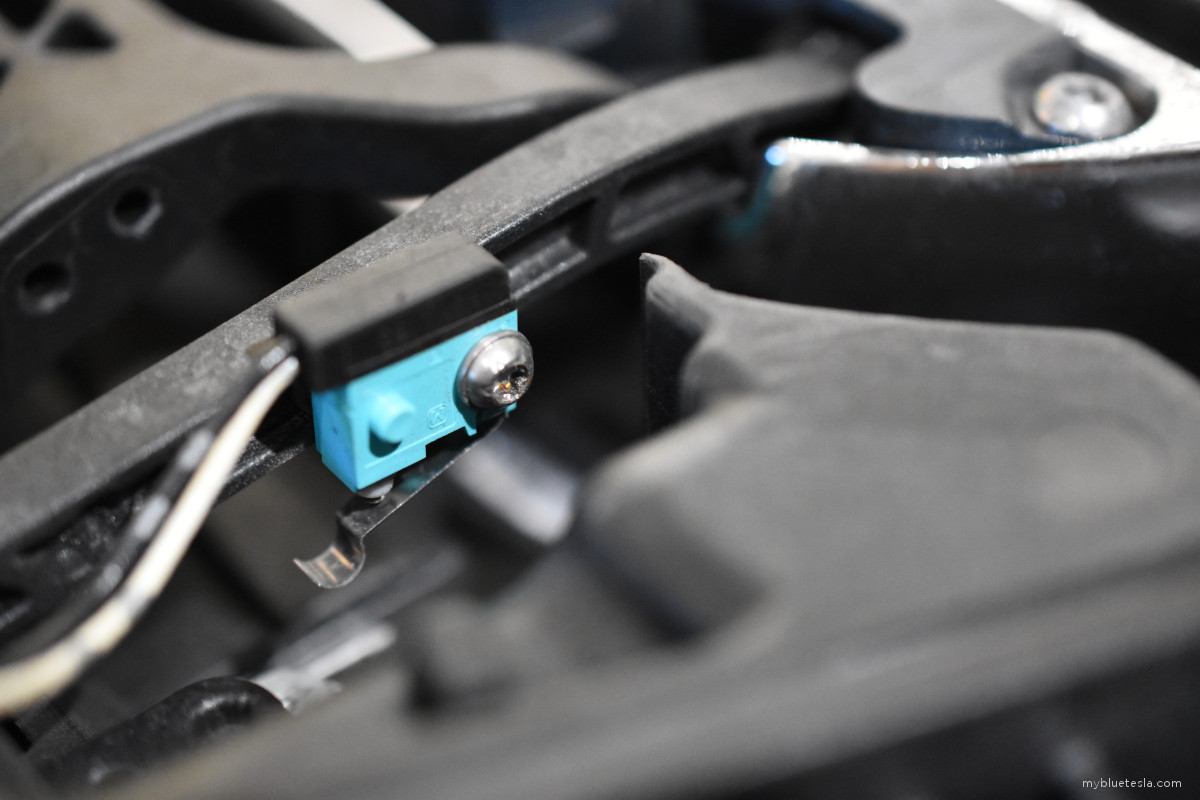
By the way, it doesn't take much to determine the root cause when looking at the old switch:
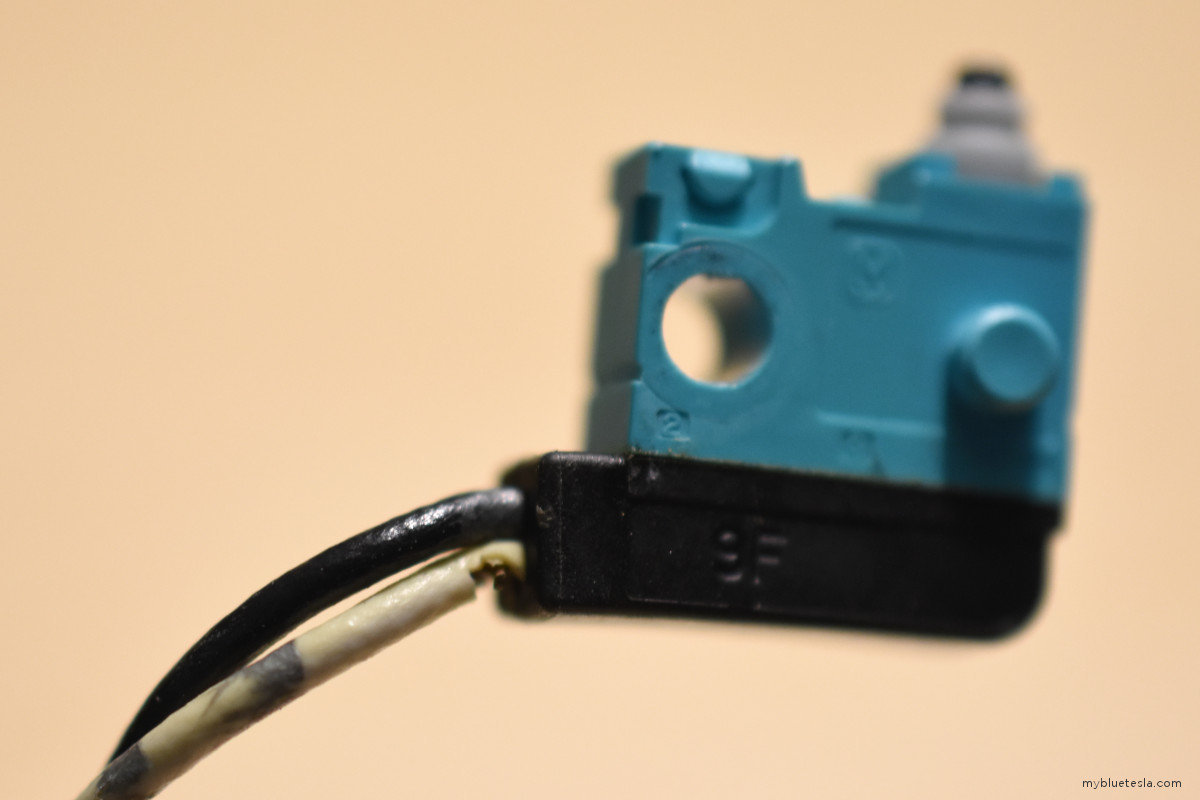
At least I learned how the door is put together and I'll probably at least take the door card out again if/when I install noise dampening material. A $70 harness was somewhat worth the learning experience.