September 22, 2019: Derattling
Elon likened the Model S to a sound studio. Seems a bit a shaky.

Since the first month I've owned my Model S, one constant irritance has been the squeaks and rattles that seem to randomly occur but can often never be reproduced on-demand. Tesla's Service team has done what they could during the warranty period and overall it's been relatively satisfactory, but I'm way past warranty coverage and I have to DIY in order to get that fresh, new (silent) car feeling.
Here's what Elon said back in 2011:
Uh, huh ... my car ain't that quiet, Elon.
I'm certainly not the only Model S owner who has complained about the sound of silence being interrupted by the odd creaks and rattles when driving over anything but fresh asphalt. Like most cars, a good portion of the interior is composed of plastics that are wedged together and fastened in place by clips. These plastics inevitably warp from temperature changes and end up rubbing against each other, causing an agitating sound that betrays the expectations of "luxury" cars.
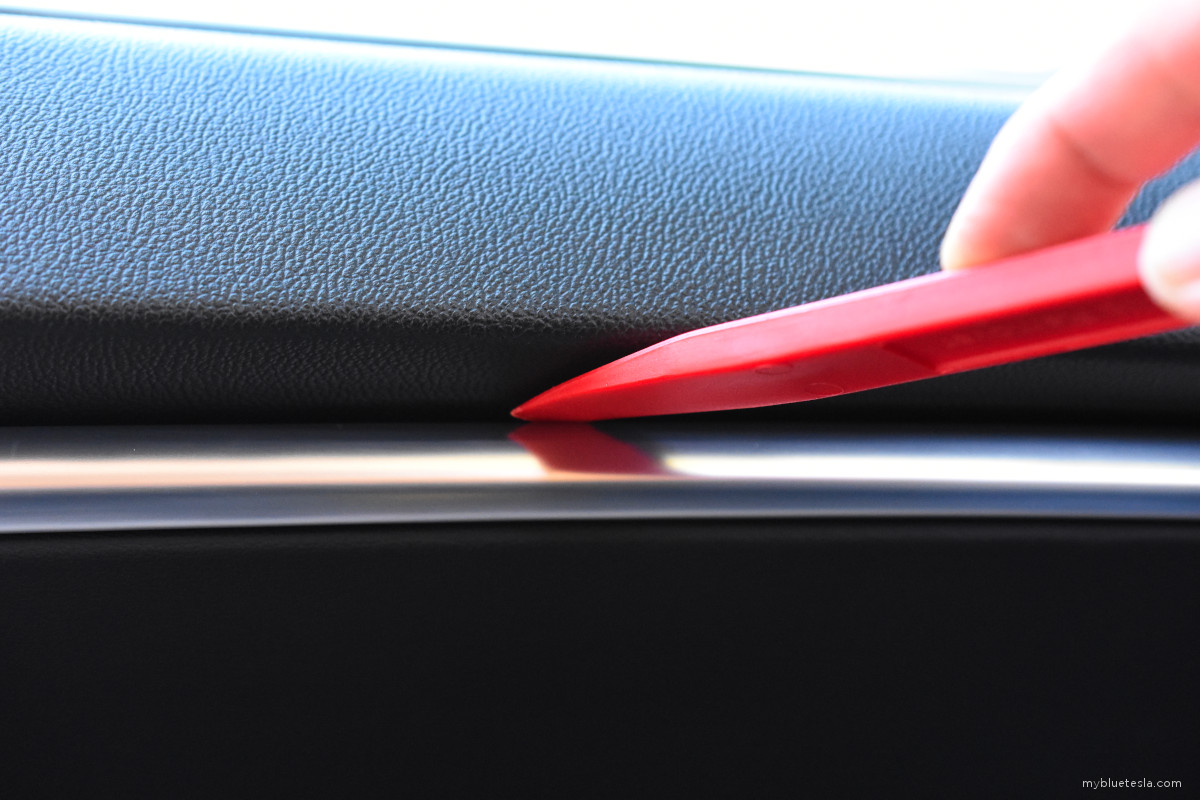
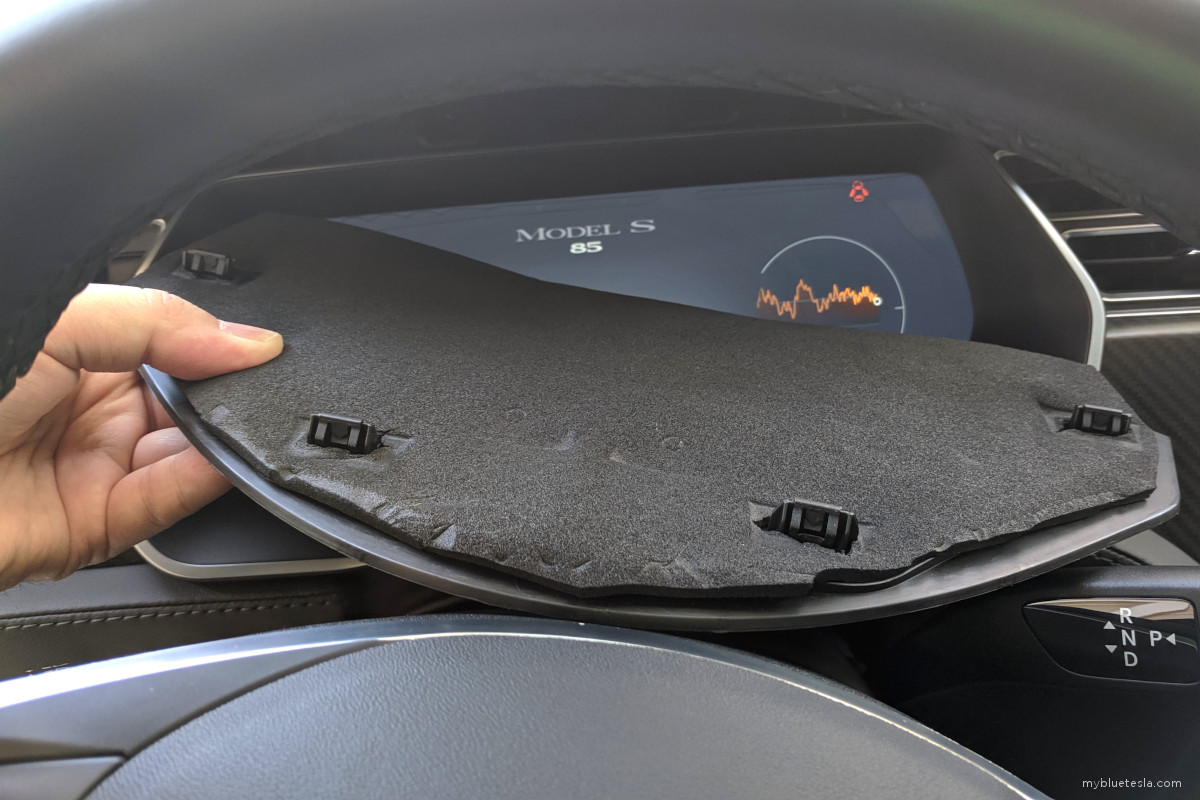
I decided to finally do something and ordered a thin sheet of closed cell foam and double-sided tape. With my trusty trim removal tools, I started pulling apart trim panels, door cards, etc. where I felt there was ever the slight vibration while driving over rough surfaces. Small strips of foam were applied behind the rear license plate, areas where the door speaker grills contact the door cards, beneath the rear hatch speaker grill, between the door cards and the door itself, underneath the dash cover right over the instrument cluster, etc..
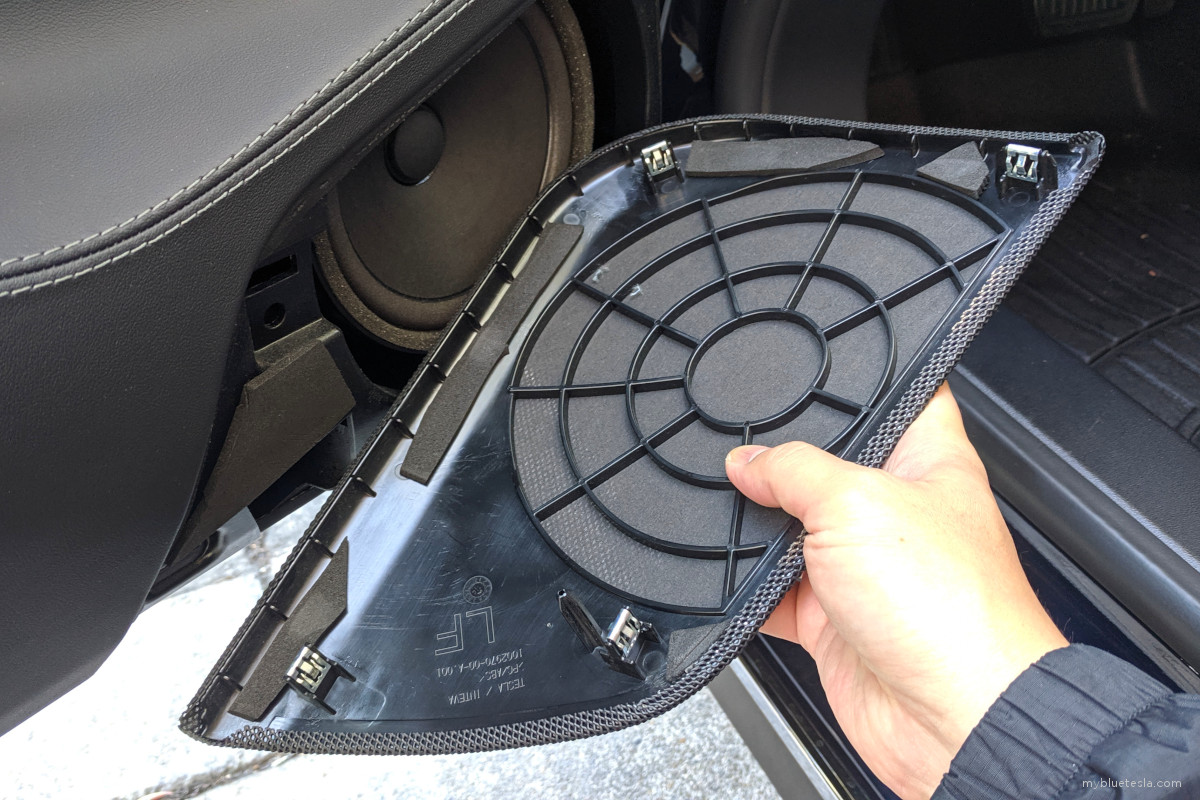
Here's the rear hatch speaker grill removed:
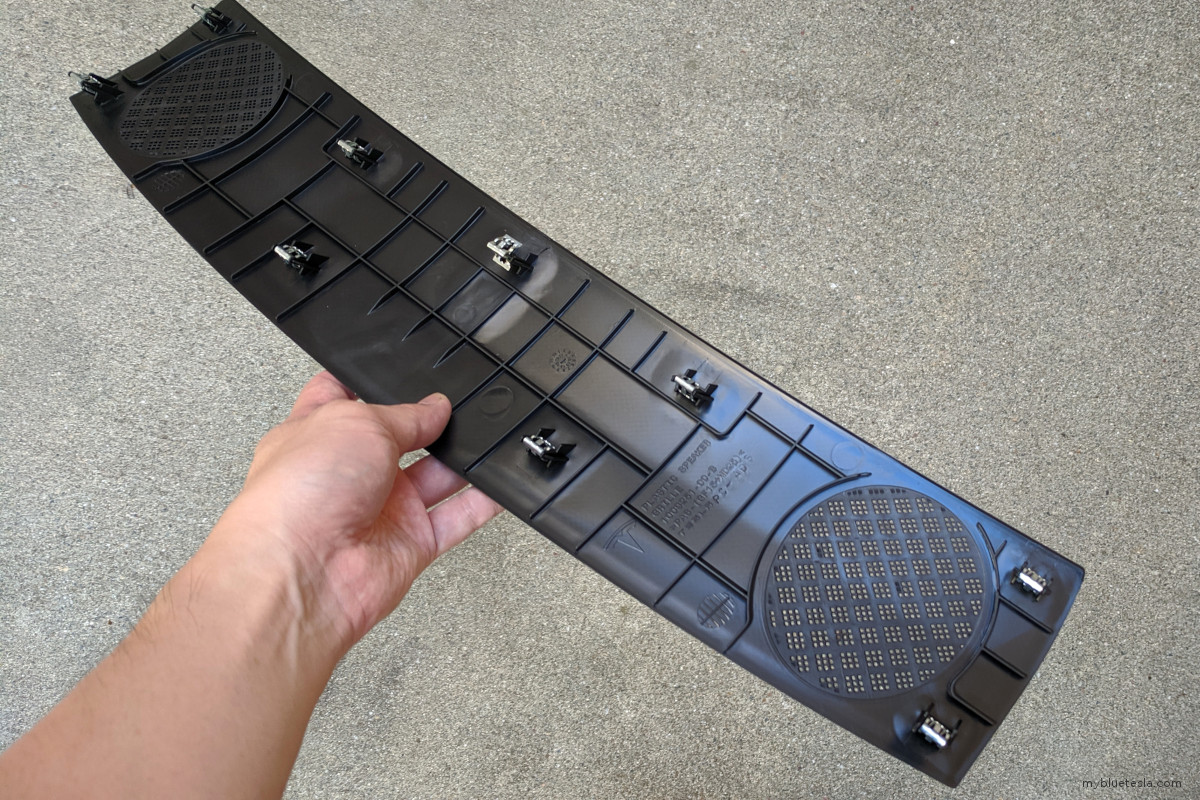
Given the plastic spines of the grill piece and the molded shape of the panel where it fits onto, there are plenty of opportunities for some plastic-on-plastic rubbing. Adding various strips of foam to act as a gasket and help prevent contact with the grill piece greatly silenced much of the rattle noise from the rear of the interior I've been experiencing for years. You can also tell I didn't order the car with the Ultra High Fidelity Sound System option as I have two openings where speakers could fit in. These actually could be just covered up to prevent further trunk noise.
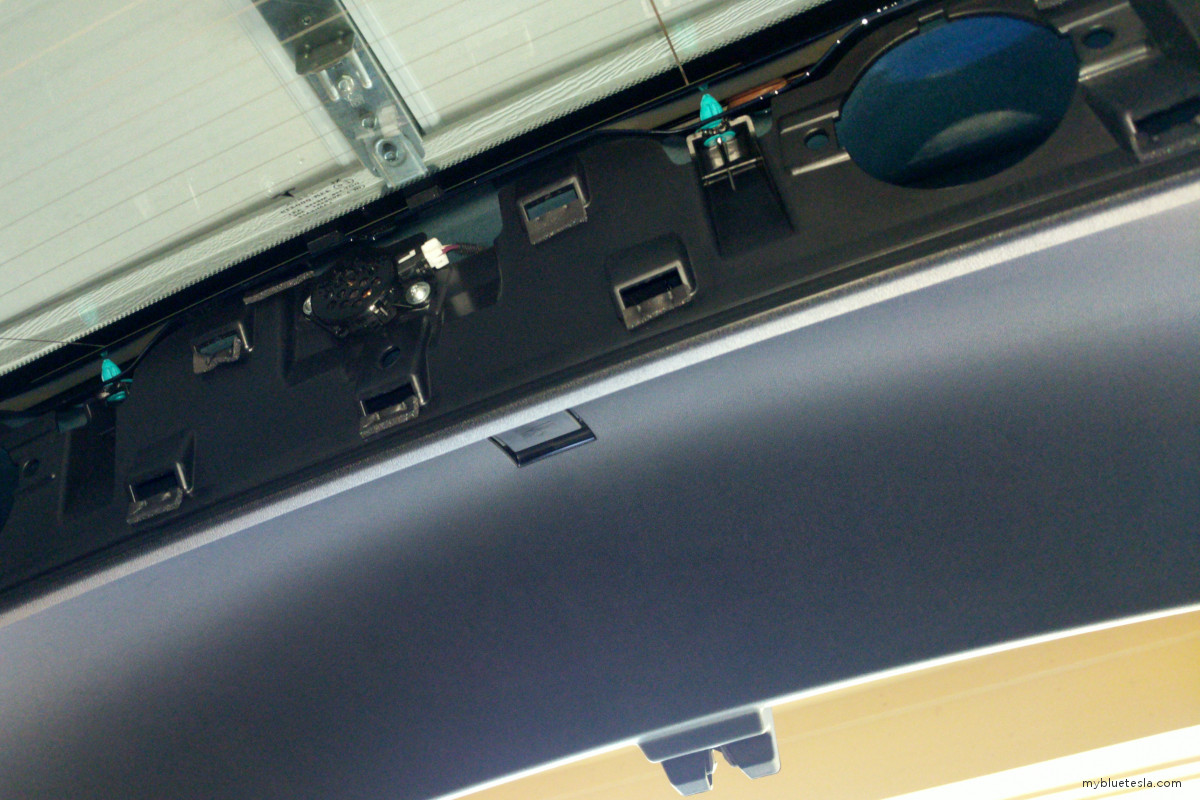
Some areas where I wedged in additional strips of foam (pointed out by a trim removal tool):

I originally came across the idea of using closed cell foam at sounddeadenershowdown.com, although the owner of this business has since retired. My interest isn't sound dampening specifically, but just to eliminate rattles. There's a build log for an older Model S interior dampening effort for those who may be interested.
I referenced a number of YouTube videos which demonstrate how to remove specific trim pieces or tear down the interior:
There are also some ideas on teslaservicemanual.com as well.
And it works! After a few hours of some basic cutting/sticking strips of foam into various crevices, there is a noticeable decrease in the overall orchestra of zen-disturbing rattles. It's not perfect and I'm sure more will surface in time where I will continue the game of Whac-A-Mole, but this is quite an improvement for relatively little investment in time and labor. A side benefit is how the car feels more "solid" now and I'm getting closer to having it feel as if the vehicle were carefully chiseled out of one mass of steel rather than a thousand individual pieces mashed together without the ideal tight-tolerance, zero-panel-gap manufacturing that's completely unrealistic on Planet Earth.
Every car is going to be different as to where rattles and creaks occur from misaligned panels/panel rubs/etc. due to slight manufacturing differences and conditions affecting these pieces after assembly. For me the rule was to check for places where plastic parts have a tendency to creak when pressed upon. For example, when I push against the center console below the arm rests, I can hear the plastic parts flexing against each other. It sounds like I'm driving a well-used Mitsubishi Mirage. From the 1980s.
It's important to avoid the use of flathead screwdrivers or other substitute tools which might result in cosmetic damage. The plastic trim removal tools allow you to wedge between parts and likely gain enough leverage to help pry away from an adjacent part, all without damaging interior surfaces. Research videos and forums to gain insight on how various sections of the interior are assembled and then carefully pry apart if feasible. Sometimes it requires more force than seems necessary.
I wish I had done this project earlier. After paying a sizable chunk of cash for a car of the future, it shouldn't have to sound like the Millenium Falcon flying apart as it plows through The Kessel Run.