October 4, 2023: Dr. ColorChip
Automotive skin blemish concealer.

A couple of months ago when I was pulling out interior trim to isolate/mitigate rattle and creak sources, I didn't know what I was doing. Not surprising, of course. One of the most tedious and time-consuming areas were the doors involving the removal of door cards multiple times a day as part of a larger trial-and-error approach in reducing vibration-induced noise.
The garage I was working in has relatively little room to manuever with insufficient clearance to completely open the doors all the way. So there I was removing door panels with the doors only partially pulled open. The garage isn't also spectacularly lit like a good workshop so I was making compromises on how I juggled things and often ended up removing the 10mm and T30 screws and holding the door card in a semi-hanging fashion (since I didn't want to disconnect the wiring harnesses each time) but this ended up with me in cramped positions trying to trim/apply foam at the same time.
Normally the door cards are partly held onto the door with these white push-pin style retainer clips and I ended up accidentally scraping these clips against the painted sill areas leaving behind noticeable claw marks which would make any car owner cringe. I could have temporarily applied several layers of painter's tape to make this a non-issue, but was I thinking ahead? Of course not. That would involve "foresight" and "planning" and we can't have that now, can we? So my sense of impatience cost me and my self-esteem dearly.
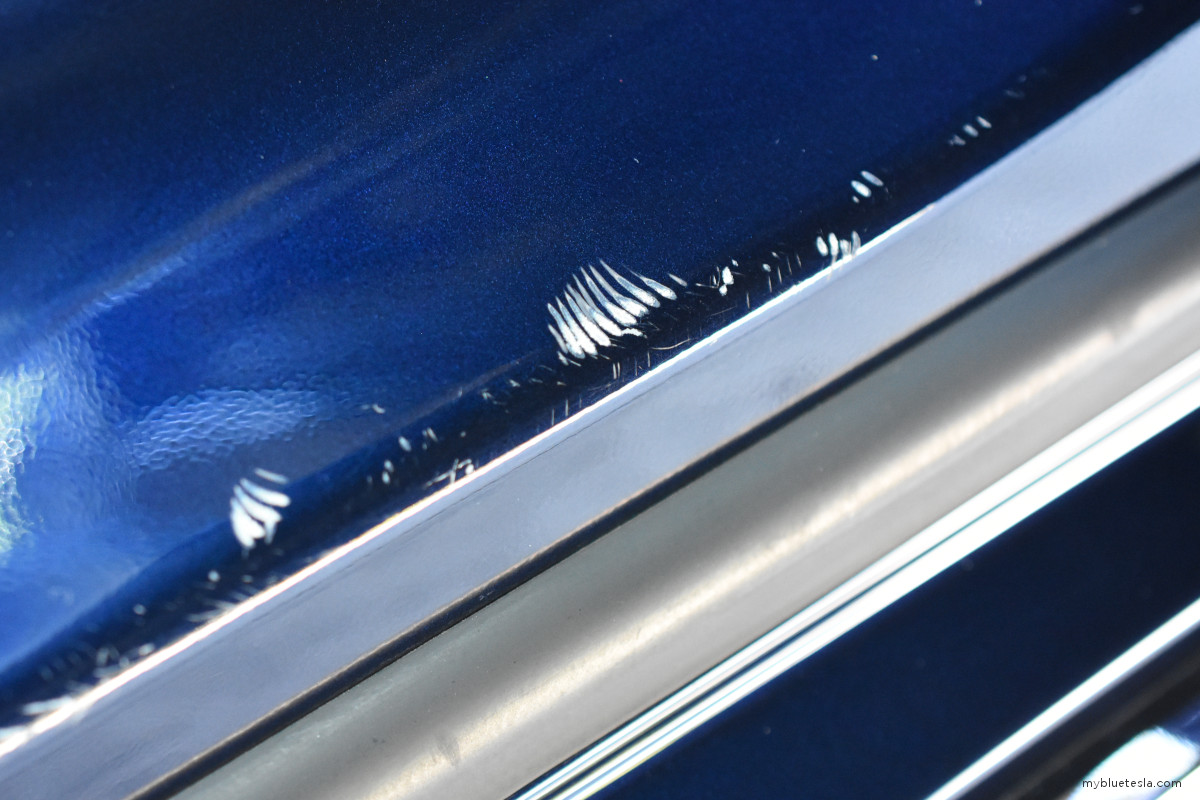
Dr. ColorChip to the rescue. This is meant more for tiny rock chips that occur over time on the front of a car but I figured it'd work equally well here. I used the same type of kit for my other car and it's easy to apply and get damn good results. It's not the same as filling in OEM touch-up paint and then wet-sanding/polishing it to perfection so it's virtually impossible to know there was a chip there before, but for my purpose this should do fine.
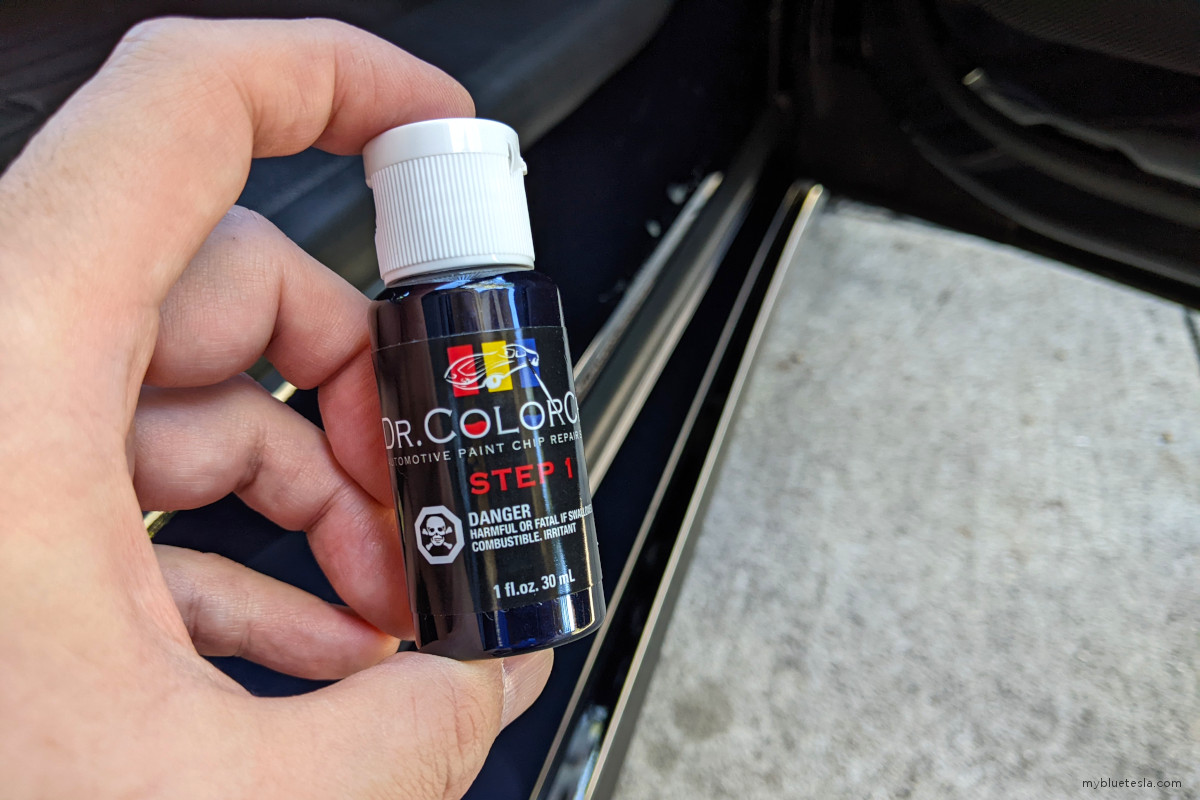
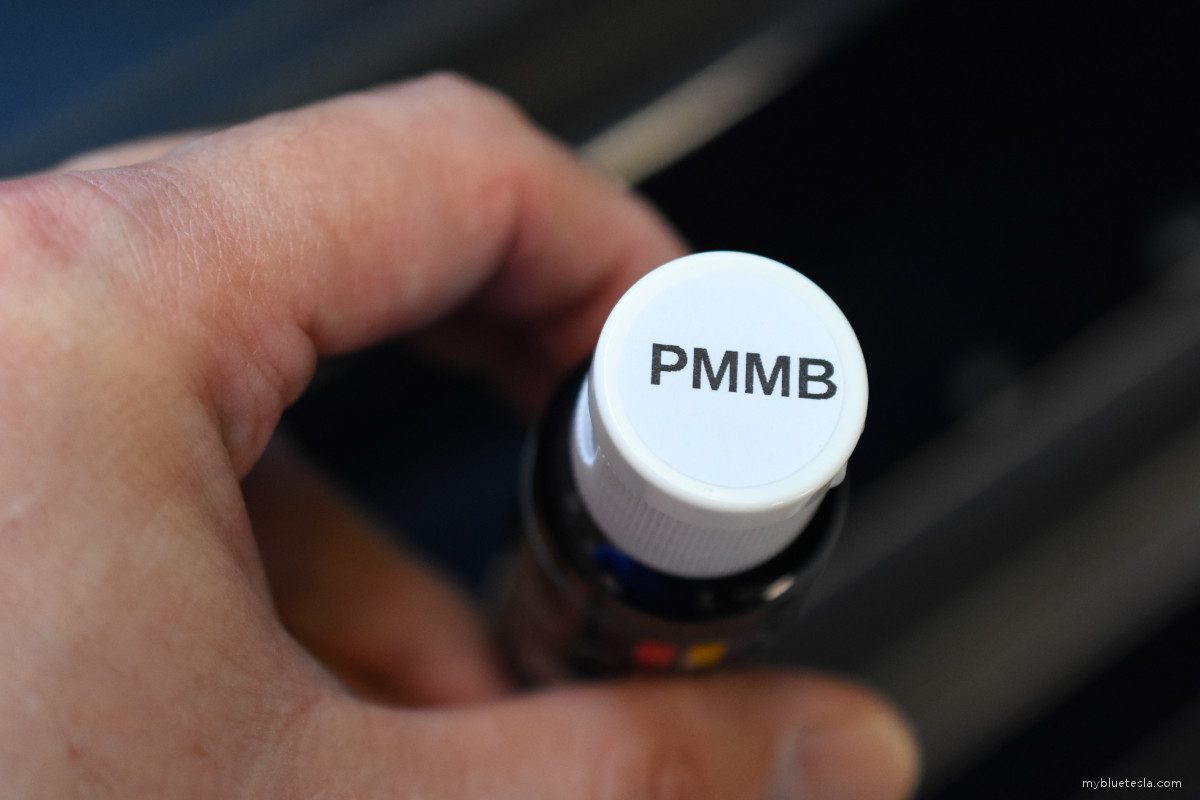
When I ordered the Road Rash Kit I selected the color code PMMB (Pacific Blue Metallic). It took a week to arrive and the application itself was straightforward. Simply clean the affected areas with rubbing alcohol, dab in the paint, level the dab with the mini squeegee (included if you order the most expensive package) or other equivalent you might have lying around, let it set for a few minutes, and then wipe off excess with the included Sealact blending solution and the provided towel.
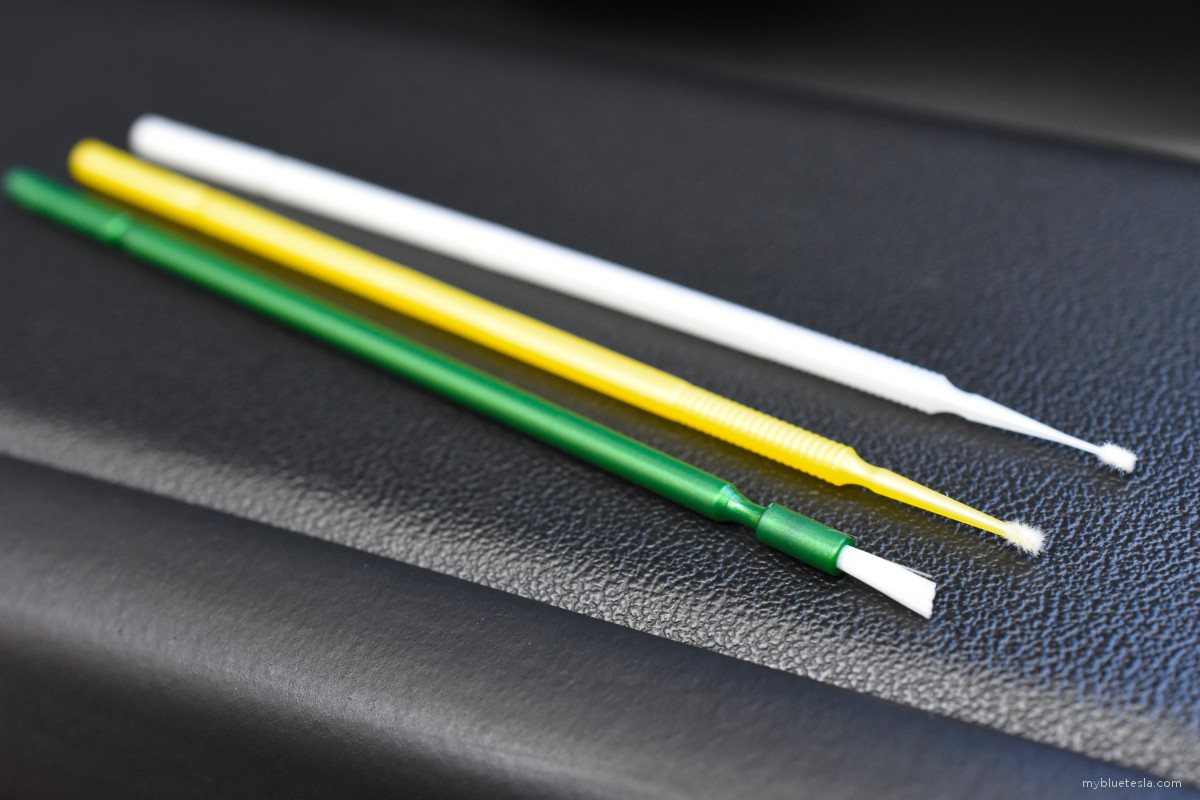
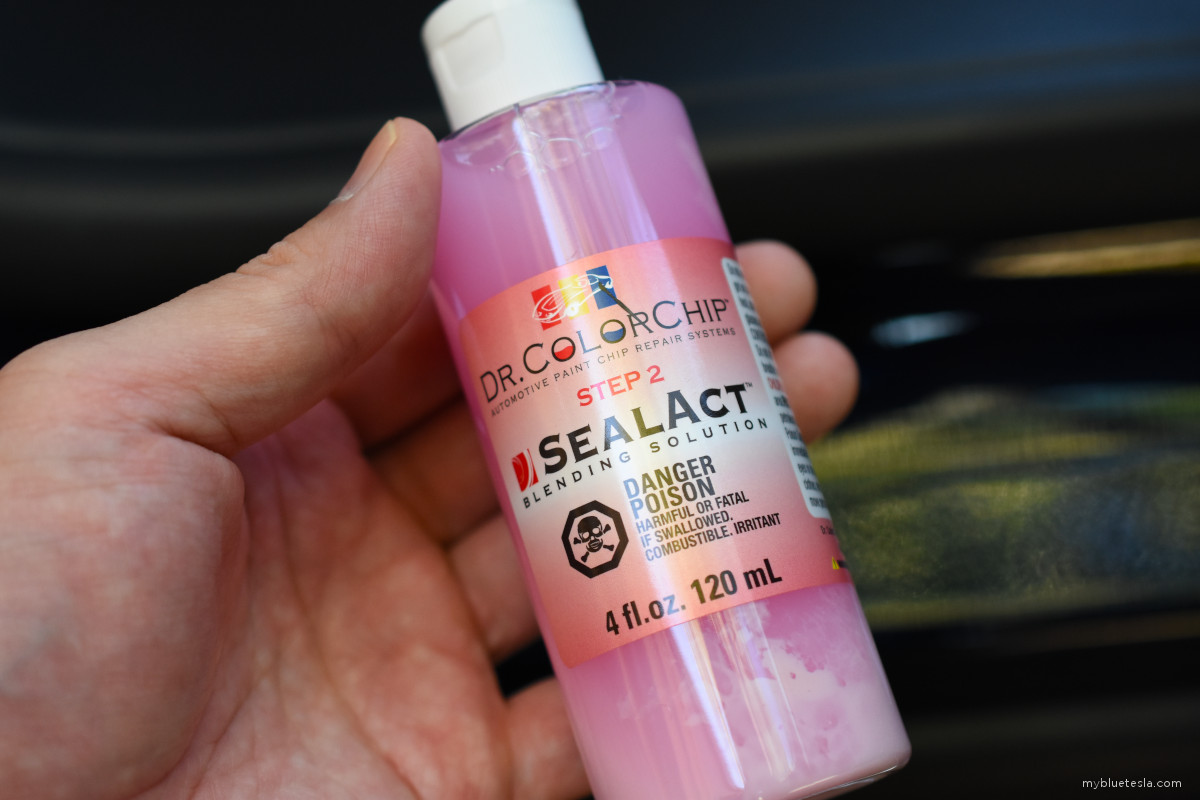
Having done this before with my previous car I expected easy results ... which didn't turn out to be the case today. After wiping excess paint off with the Sealact the remaining paint turned matte and dried. The dark blue turned to a dull dark gray once the Sealact evaporated. The gashes are still easily visible, although only slightly less so than before. At a distance if the door sill isn't in bright light it might be difficult to see, but at that point I'm just looking for excuses.
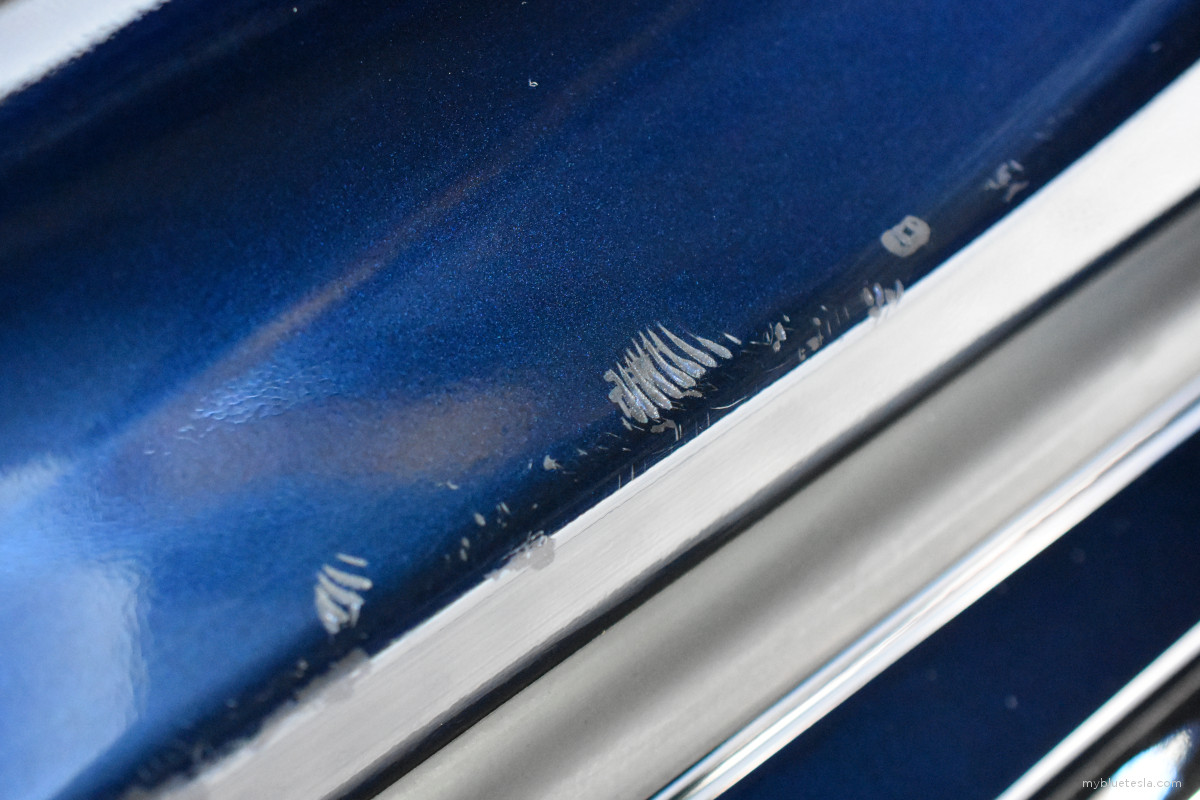
A total fail.
Either I did something wrong (which I doubt since this is relatively foolproof) or I've expected too much this time around for a use case where the paint "chip" is too large to be easily hidden with this solution. $60 was a waste of time for this job and I might as well just apply a strip of door sill guard PPF strips to cover this up. It'll be a more permanent, proactive protective solution anyway. I didn't even bother working the other door sills as I came away completely disappointed, especially for the price paid.
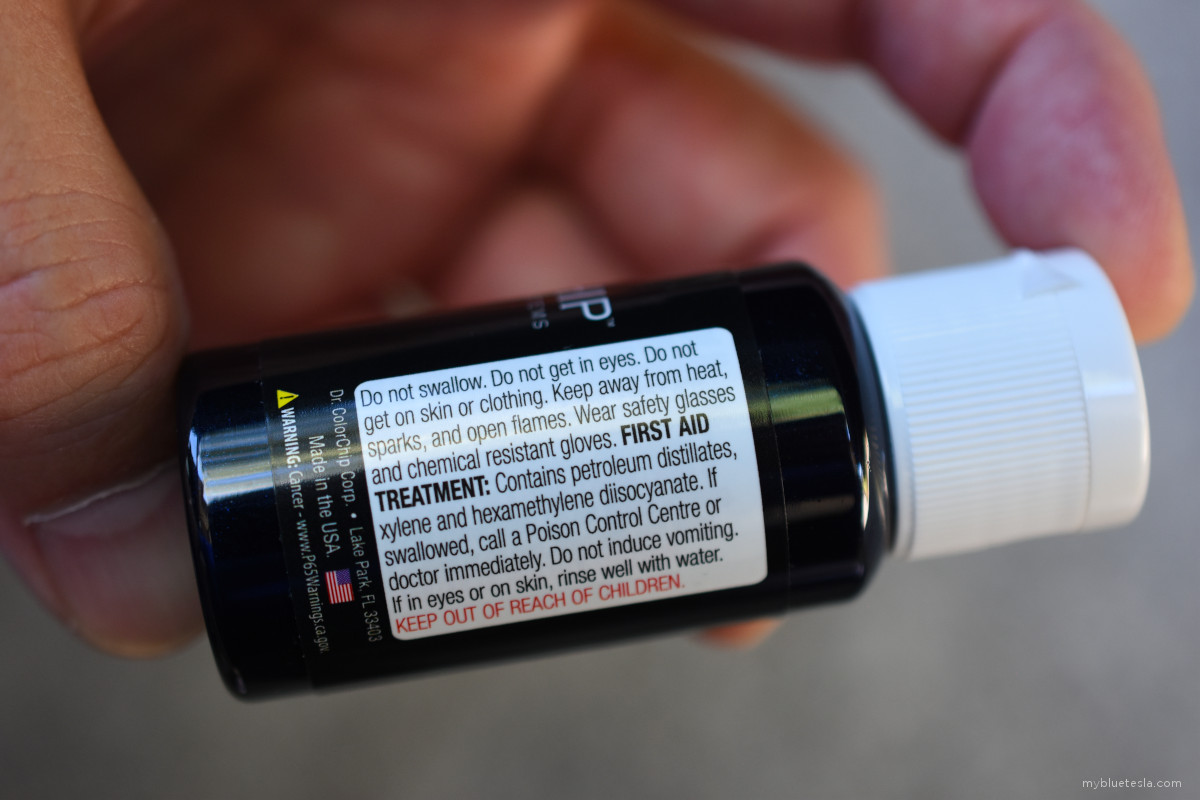
I'll probably ping the folks at Dr. ColorChip to see where I might've gone wrong, but meh, I have other things I need to get to. And just in case some people would rather not read the label and use common-sense precautions, here's the warning:
